Looking for a unique, textured crochet hat? This free pattern is just what you need! Bavarian crochet is a classic technique that makes a stunning diamond-shaped texture, perfect for one-of-a-kind hats. You can follow the free pattern right here or buy the ad-free, printable PDF from our shop.
UPDATED: JANUARY 10, 2025 BY BRITTANY
This post may contain affiliate links. See our Disclosure Policy for more information.
Skill Level | Complex
Finished Size | Fits 19″-22″ Head Circumference
This pattern is great for a cozy weekend hat or a quick, thoughtful gift.
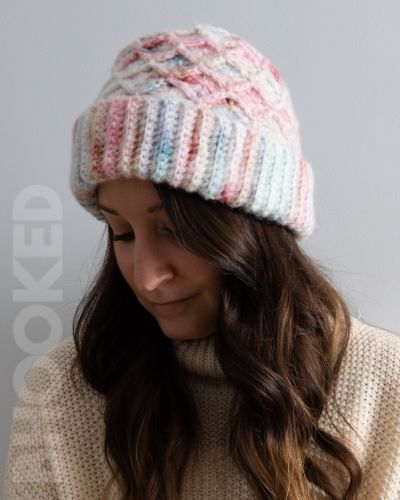
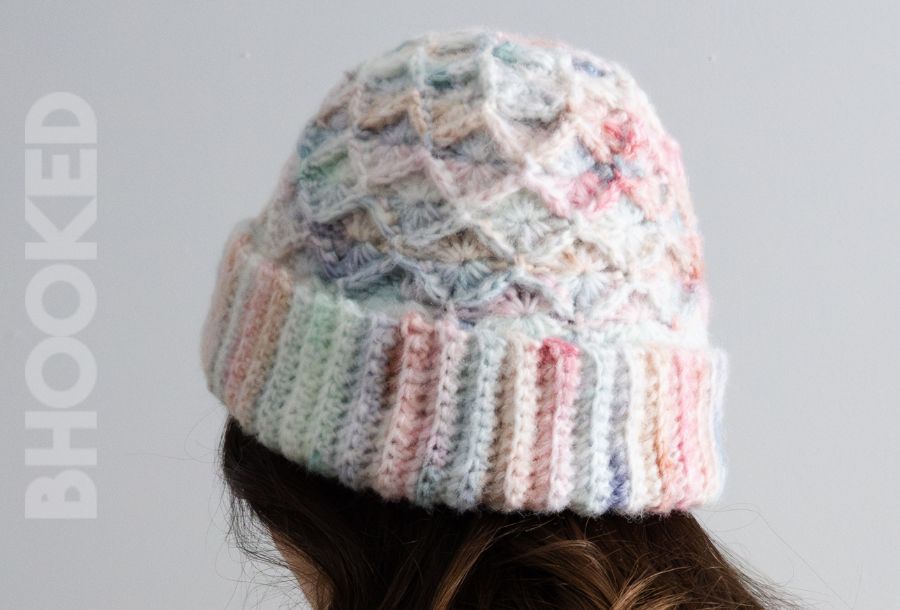
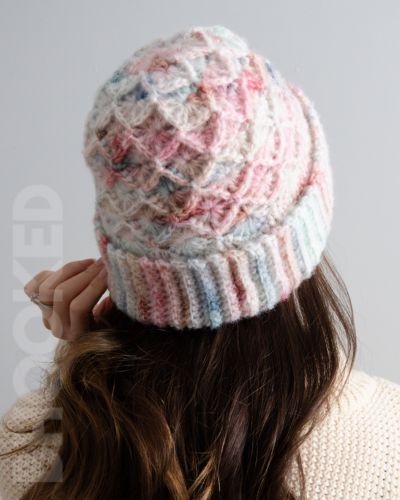
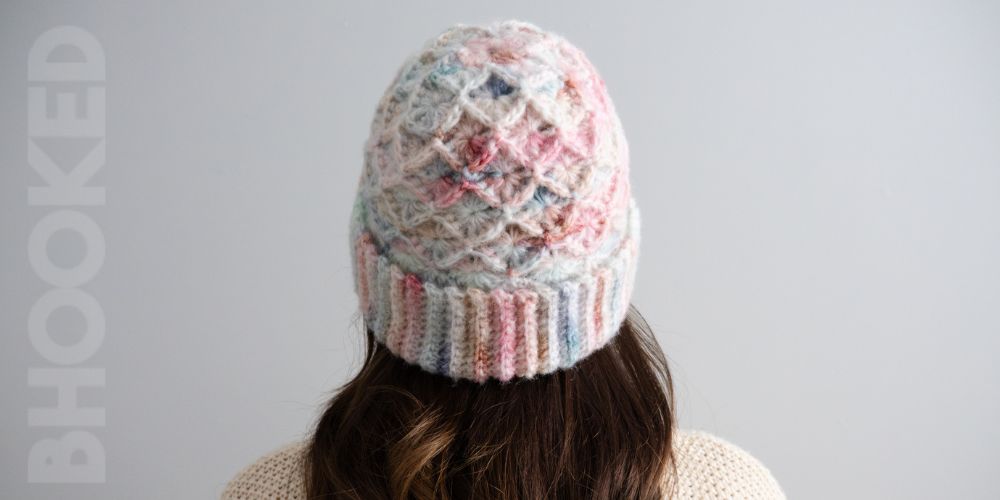
The Bavarian crochet technique creates a beautiful raised diamond design that’s both stylish and practical.
In this easy guide, I’ll walk you through every step to make your new favorite textured crochet hat. Grab your favorite medium-weight yarn, and let’s get started!
About Our Textured Crochet Hat
This cozy, textured crochet hat is worked from the crown down to the band. You can use a single color, color-changing yarn, or even mix multiple colors—it’s up to you! The pattern works well with many medium-weight yarns, but I love using Scarfie Lite from Lion Brand for this hat because the colors play beautifully with the stitch pattern.
If you want more details or have questions, keep reading. Ready to dive in? Scroll down to the free pattern and start crocheting. Enjoy!
Pattern Overview:
- Supplies
- Buy the ad-free, printable pattern
- Abbreviations
- Pattern Notes
- Gauge & Finished Size
- Bavarian Textured Crochet Hat Written Pattern
- How to Finish Your Textured Crochet Hat
- More Crochet Hats + Free Patterns
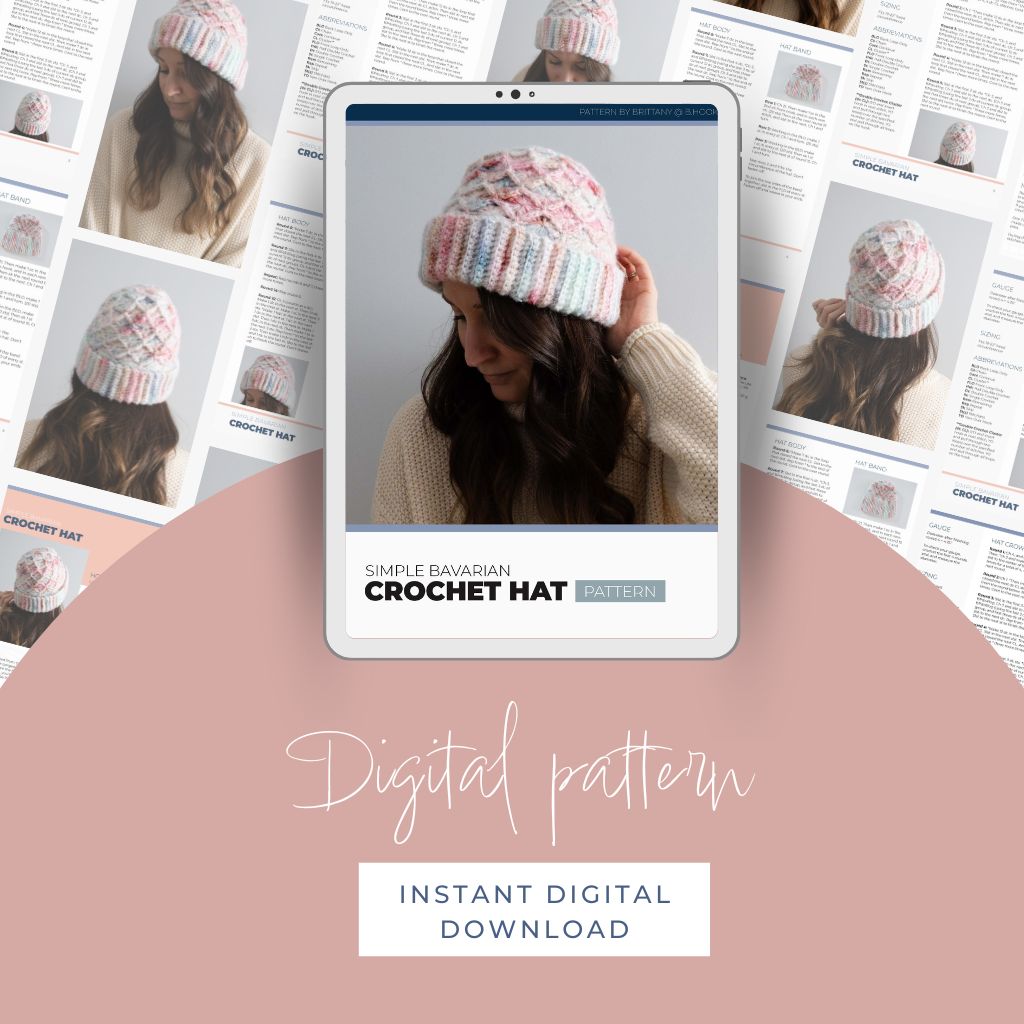
You can view the pattern completely free on this page. But, if you prefer having a digital copy that you can save or print, we’ve got you covered with that option as well.
If you’d like to support our work here at B.Hooked, purchasing the digital pattern is a wonderful way to do so!
Recommended Supplies
- Approx 260 yds Medium-Weight (#4) Yarn
- 5.5 mm Crochet Hook
- Yarn Needle
- Scissors
Lion Brand Scarfie Lite is a great yarn for this hat, and it’s what you see in the pictures here (I used the color called “Patagonia” but I’ve also used nearly a dozen other medium-weight (#4) yarns from my stash! Each one turned out beautifully, and every yarn gave the hat its own unique look. Solid or semi-solid colors will highlight the stitch pattern, while yarns with subtle color changes add a fun pop to the texture.
Feel free to try different medium-weight (#4) yarns for this pattern—it’s super flexible! So far, every yarn I’ve tried has worked and looked amazing. Just make sure to check your gauge and adjust your hook size if needed.
Abbreviations
This pattern is written using standard US crochet terminology.
- BLO Back Loop Only
- BPdc4Tog Back Post Double Crochet 4 Together
- BPdc6Tog Back Post Double Crochet 6 Together
- Ch Chain
- Cont Continue
- dc CL Cluster**
- FLO Front Loop Only
- Hdc Half Double Crochet
- Dc Double Crochet
- Sc Single Crochet
- Rem Remaining
- Rep Repeat
- Sk Skip
- St(s) Stitch(es)
- YO Yarn Over Hook
**Double Crochet Cluster (dc CL): (YO and insert hook in next stitch, YO and pull through two loops) over the specified number of stitches. YO and pull through all loops on the hook.
Pattern Notes
This hat is crocheted from the crown to the band using the gorgeous and textured Bavarian stitch. Once the hat crown and sides are crocheted, you’ll crochet a nice long band that can be flipped up for a little extra warmth. Be sure to check your gauge, and if it’s off, adjust your hook size to match. You can use any medium-weight (#4) yarn you like. Just remember to check your gauge and adjust hook sizes if needed.
For the band, the chain one at the beginning of the row does not count as a single crochet.
Gauge: The diameter after finishing round 4 (measured corner to corner) = 5.5″
To check your gauge, crochet the first 4 rounds and then measure the diameter. Adjust hook sizes if you need to.
Finished Size: Your finished hat will fit 19-22″ head circumference.
Bavarian Textured Crochet Hat Written Pattern
Hat Crown
Round 1: Ch 4, and slst to the first ch to form a ring. Then, *ch 3 and make a 4 dc CL. Ch 3 again, and slst to the center of the ring. Rep from * three more times for a total of 4, 4 dc CL stitches. Cont to the next round.
Round 2: *Make 12 dc in the loop that closed the next dc CL stitch. Then slst in the next slst from the round below. Rep from * three more times. Cont to the next round.
Round 3: Slst in the first 4 dc sts. *Ch 3, and BPdc4tog. Ch 3 and slst to the next dc. Ch 3 and BPdc6tog (using the last 3 dc of current 12 dc group, and first three dc of next group). Ch 3 and slst to the next dc. Rep from * three more times. Slst to the next st to finish the round.
Round 4: *Make 12 dc in the loop that closed the next dc CL. Slst in the next slst. Then make 7 dc in loop that closed the next dc CL. And slst in the next slst. Rep from * three more times. Cont to the next round.
Round 5: Slst in the first 4 dc sts. *Ch 3, and BPdc4tog. Ch 3 and slst to the next dc. [Ch 3 and BPdc6tog (using the last 3 dc of current dc group, and first three dc of next group). Ch 3 and slst to the next dc] twice. Rep from * three more times. Slst to the next st to finish the round. Cont to the next round.
Hat Body
Round 6: *Make 7 dc in the loop that closed the next dc CL. Slst to the next slst. Rep from * to the end of the round. Cont to the next round.
Round 7: Slst in the first 4 dc. *Ch 3, and BPdc6tog (using the last 3 dc of current 12 dc group, and first three dc of next group). Ch 3 and slst to the next dc. Rep from * to the end of the round. Cont to the next round.
A digital pattern is available in our shop so you can print out the pattern
Repeat: Rep rounds 6 and 7, three more times.
Round 14: Rep round 6.
Round 15: Ch 3 (counts as a dc). Make 1 dc in the next st. Then 1 hdc in the next st. Make 1 sc in the next 3 sts. *Make 1 hdc in the next st. Then 1 dc in the next st. 1 dc in the next slst. Then 1 dc in the next st. Make 1 hdc in the next st. Then make 1 sc in the next 3 sts. Rep from * to the last 2 sts. Then make 1 hdc in the next st, and 1 dc in the last st. Slst to the 3rd ch to finish the round. Don’t fasten off.
Band
Row 1: Ch 21. Then make 1 sc in the 2nd ch from hook, and in each rem ch. (20 sts) Then sk the next round 15 stitch (on the body of the hat), and slst to the next. Ch 1 and turn.
Row 2: Working in the BLO, make 1 sc in every st. Ch 1 and turn. (20 sts)
Row 3: Working in the BLO, make 1 sc in every st. (20 sts) Then sk 1 st and slst to the next st of round 15 (on the body of the hat). Ch 1 and turn.
Rep rows 2 and 3 for the circumference of the hat. Don’t fasten off.
Finishing Your Textured Crochet Hat
To join the two sides of the band together, slst in the FLO of every st. Fasten off and weave in your ends.
By using this pattern, you agree to our terms of use:
This pattern is for personal use only. You agree not to modify, publish, transmit, sell, create derivative works or in any way exploit any of the content within this page, in whole or in part. If you wish to share this pattern, share a link to this webpage only. You may sell finished items made from this pattern.
Copyright, B.Hooked Crochet, LLC


