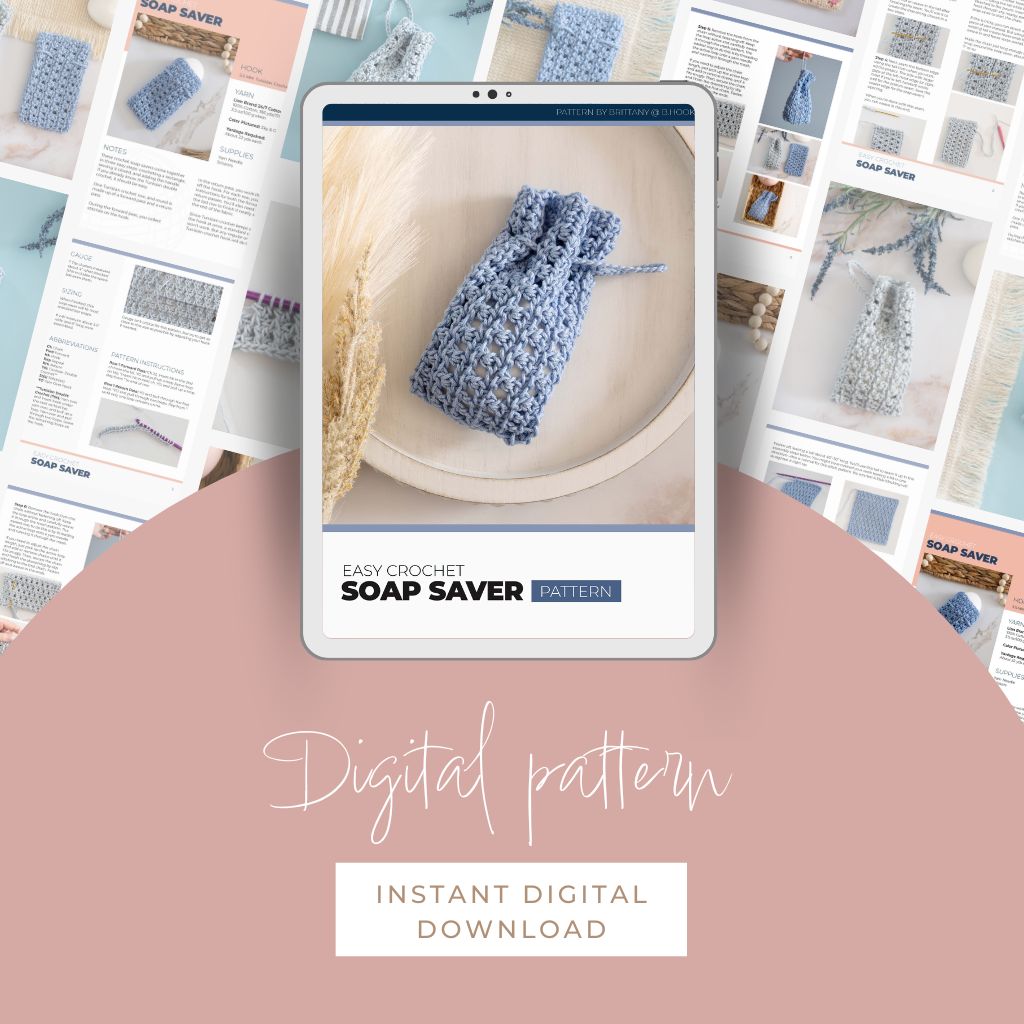
A crochet soap saver is a great way to use up every bit of your bar soap, so nothing goes to waste. You can make one in just a few minutes! You can find the free pattern on this page, or purchase the ad-free, printable PDF from our shop.
UPDATED: AUGUST 22, 2024 BY BRITTANY
This post may contain affiliate links. See our Disclosure Policy for more information.

SAVE TO PINTEREST
Skill Level | Easy
Size | 3.5″ x 6″
I recently switched to using only bar soap, and I quickly saw how handy a soap saver is. It helps you use up every bit of soap without any waste.
These soap savers are quick and easy to make! This one uses a pretty mesh stitch in Tunisian crochet and just a small amount of cotton yarn.
Even if you’re new to Tunisian crochet, don’t worry—you don’t need to be an expert. These are super easy to make!
About This Easy Crochet Soap Saver Pattern
You can make great crochet soap savers with regular crochet hooks, but Tunisian crochet is really fun! It has a lot of beautiful stitches, including this simple mesh that’s perfect for soap savers. The mesh lathers well and keeps small bits of soap from slipping out.
These quick and easy soap savers might become your new favorite project. Below, you’ll find step-by-step instructions to help you make them.
Pattern Overview:
- Supplies
- Buy the ad-free, printable pattern
- Abbreviations
- Pattern Notes
- Gauge and Finished Size
- Easy Crochet Soap Saver Pattern Instructions
- Finishing Your Crochet Soap Saver
- More Quick & Easy Tutorials + Free Patterns

You can view the pattern completely free on this page. But, if you prefer having a digital copy that you can save or print, we’ve got you covered with that option as well.
If you’d like to support our work here at B.Hooked, purchasing the digital pattern is a wonderful way to do so!
Recommended Supplies
- About 22 yds each soap saver; 100% Cotton (#4 Medium-Weight)
- 5.5 mm Tunisian Crochet Hook
- 3.5 mm Crochet Hook (Drawstring only)
- Yarn Needle
- Scissors
I’ve made these crochet soap savers with different cotton yarns from my stash, but if I had to choose a favorite, it would be Lion Brand 24/7 Cotton. This yarn is just the right thickness, smooth, and easy to work with.
If you can’t find this yarn or want to use what you already have, that’s okay! Just pick a medium-weight (#4) yarn that’s 100% cotton. This will make sure your soap saver is easy to care for and strong enough to last.
To make a soap saver like this one, you’ll need a 5.5 mm Tunisian crochet hook. Since Tunisian crochet keeps all stitches on the hook at once, a standard crochet hook won’t work. But any regular or corded Tunisian crochet hook will do the trick.
Abbreviations
This pattern is written using standard US crochet terminology.
- Ch Chain
- Fwd Forward
- Hk Hook
- Rep Repeat
- Rtn Return
- Tdc Tunisian Double Crochet**
- St(s) Stitch(es)
- YO Yarn Over Hook

**Tunisian Double Crochet (Tdc): Yarn over and insert hook under the next vertical bar, yarn over, and pull up a loop. Yarn over and pull through two loops. Leave the remaining loops on the hook.
Pattern Notes
These crochet soap savers come together in three easy steps: crocheting a rectangle, sewing it closed, and adding the handle. If you already know the Tunisian double crochet, it should be easy.
Unlike regular crochet stitch patterns, one Tunisian crochet row, and round is made up of a forward pass and a return pass.
During the forward pass, you collect stitches on the hook. In the return pass, you work those stitches off the hook. For each row, you’ll see instructions for both the forward and return passes. You’ll also need to bind off the last row to finish it neatly and match the rest of the fabric.
Finished Size: Your finished soap savers will fit most standard bar soaps and will be about 3.5″ wide and 6″ long when done.
Gauge: 7 Tdc clusters (groups of two Tdc as shown in the stitch pattern) should measure about 3.75″ once blocked. Gauge isn’t critical for this pattern, but try to get as close to this size as possible by adjusting your hook if needed.

Crochet Soap Saver Pattern Instructions
Row 1 Forward Pass: Leaving a tail that’s about 12″-15″ long, ch 22. Insert hk in the 2nd ch from the hk. YO and pull up a loop (leave loop on hk). *Insert hk in next ch, YO, and pull up a loop. Rep from * to the end of the row.
Row 1 Return Pass: YO and pull through the first loop. *YO and pull through two loops. Rep from * until only one loop remains on hk.

Row 2 Forward Pass: Ch 1. Tdc next 2 vertical bars, *Tdc next 2 vertical bars together twice; rep from * to last 2 vertical bars and edge stitch. Tdc last 2 vertical bars, and edge stitch.

Row 2 Return Pass: YO and pull through the first loop. *YO and pull through two loops. Rep from * until only one loop remains on hk.
Row 3 Forward Pass: Ch 1. Tdc next vertical bar, *Tdc next 2 vertical bars together twice; rep from * to last vertical bar and edge st. Tdc last vertical bar and edge st.

Row 3 Return Pass: YO and pull through the first loop. *YO and pull through two loops. Rep from * until only one loop remains on hk.
Repeat: Rep the last two rows, four more times, for a total of 10 mesh rows.

A digital pattern is available in our shop so you can print out the pattern
Bind Off Row
Ch 1. [Tdc next vertical bar. When two loops remain, pull the first loop through the last loop on hk] twice. *Tdc next 2 vertical bars together finishing each Tdc as the first two; rep from * to last 2 vertical bars and edge stitch. [Tdc next vertical bar. Pull the first loop through the last loop on the hk] for the remaining 3 sts.

Fasten off, leaving a tail about 40″-50″ long. You’ll use this tail to seam it up in the assembly steps below. You might have noticed your work leaning a bit in one direction—this is normal for this stitch pattern. No worries! A little blocking will straighten it right up.


Assembly
Step 1: Block your piece to 6” wide and 7” long. This will straighten it out and slightly open the mesh stitch pattern.

Step 2: Each side of your work will look a little different. Pick the side you like best and make sure it’s facing outward. Then, fold your piece in half so the foundation and bind-off stitches meet.

Step 3: Use the long tail from where you fastened off to seam the long edge (where the foundation and bind-off stitches are). I used a whip stitch because I like how the zig-zag blends with the rest of the pattern, but feel free to use any method you prefer!
Don’t cut or weave in the tail after finishing the seam. You’ll use it to create the drawstring closure in a few steps.

Step 4: Next, seam the bottom edge using the tail from when you started the project. The side with larger gaps at the left-most edge (or right-most if you’re left-handed) works well for the bottom seam. Save the neater edge for the soap saver’s opening.
When you’re done with this seam, you can weave in this end.

Step 5: Use a yarn needle to guide the remaining long tail down to the first row of the mesh pattern. Then, with a 3.5mm crochet hook, make a chain using the tail while it’s still attached to the pouch. Insert the hook through any nearby part of the soap saver to start the chain.

If this is tricky, you can attach a new piece of yarn instead. But using the existing tail means fewer ends to weave in and fewer steps overall.
Make the chain just long enough to wrap around the soap saver, about 7″ or so.
Step 6: Remove the hook from the chain without fastening off. Keep the loop active and carefully weave it through the mesh pattern. The easiest way to do this is by threading the active loop onto a yarn needle and running it through the mesh.
If you need to adjust the chain length, just pick up the active loop and add or remove chains until it fits snugly. Then, secure the chain and finish the drawstring by slip stitching to the first chain. Fasten off and weave in the ends.


To use your soap saver, just pull the drawstring from the opposite end of the join to cinch it up—it’ll create a sturdy handle for your soap!

By using this pattern, you agree to our terms of use:
This pattern is for personal use only.
You agree not to modify, publish, share, sell, or create derivative works from the content on this page, in whole or in part. If you’d like to share this pattern, please share the link to this webpage only. You may sell finished items made from this pattern.
© B.Hooked Crochet, LLC


