Have you ever noticed those plain canvas zipper bags at craft stores? They’re cheap and great for lining crochet bags! In this fun canvas bag DIY project, I’ll guide you through creating your own canvas granny square zipper bag! You can find the free pattern on this page or buy the ad-free, printable version from our shop.
UPDATED: AUGUST 13, 2024 BY BRITTANY
This post may contain affiliate links. See our Disclosure Policy for more information.

Skill Level | Intermediate
Size | Fits 8.5″ x 5.25″ Zipper Pouches
I’ve always found granny squares to be a great grab-and-go project. If you have a bunch of them lying around like I do, you’ll love this quick and easy zipper bag idea!
The idea for this zipper bag came from my larger canvas tote granny square bag. Putting a plain canvas tote inside your crochet bags makes it strong enough to carry all your stuff. Once you try it, you won’t want to make a bag any other way!
It’s a lot of fun and you don’t have to have a lot of experience either!
Here is a quick overview of the topics we’ll cover in this article:
- About this Quick Canvas Zipper Bag DIY
- Buy the ad-free, printable pattern
- Supplies
- Pattern Notes
- Crochet Zipper Bag Pattern Instructions
- Joining the Granny Squares
- Blocking the Panels
- Granny Square Canvas Zipper Bag Assembly
- Border & Finishing Instructions
- Canvas Zipper Bag DIY with Granny Squares Video
- More Granny Square Project Ideas
About this Quick Zipper Canvas Bag DIY
I had a blast making this project! It’s so much fun to mix and match colors and styles to create a bag that’s uniquely yours. It’ll be perfect for holding your hooks, makeup, or back-to-school essentials. I even have one in my purse to hold all the little things so I can find them easier!
You don’t have to stick with the classic granny square either. Feel free to use any crochet square pattern you prefer! I’ve included plenty of resources on this page so you can recreate the bag you see here or design one that’s even better suited to your taste.

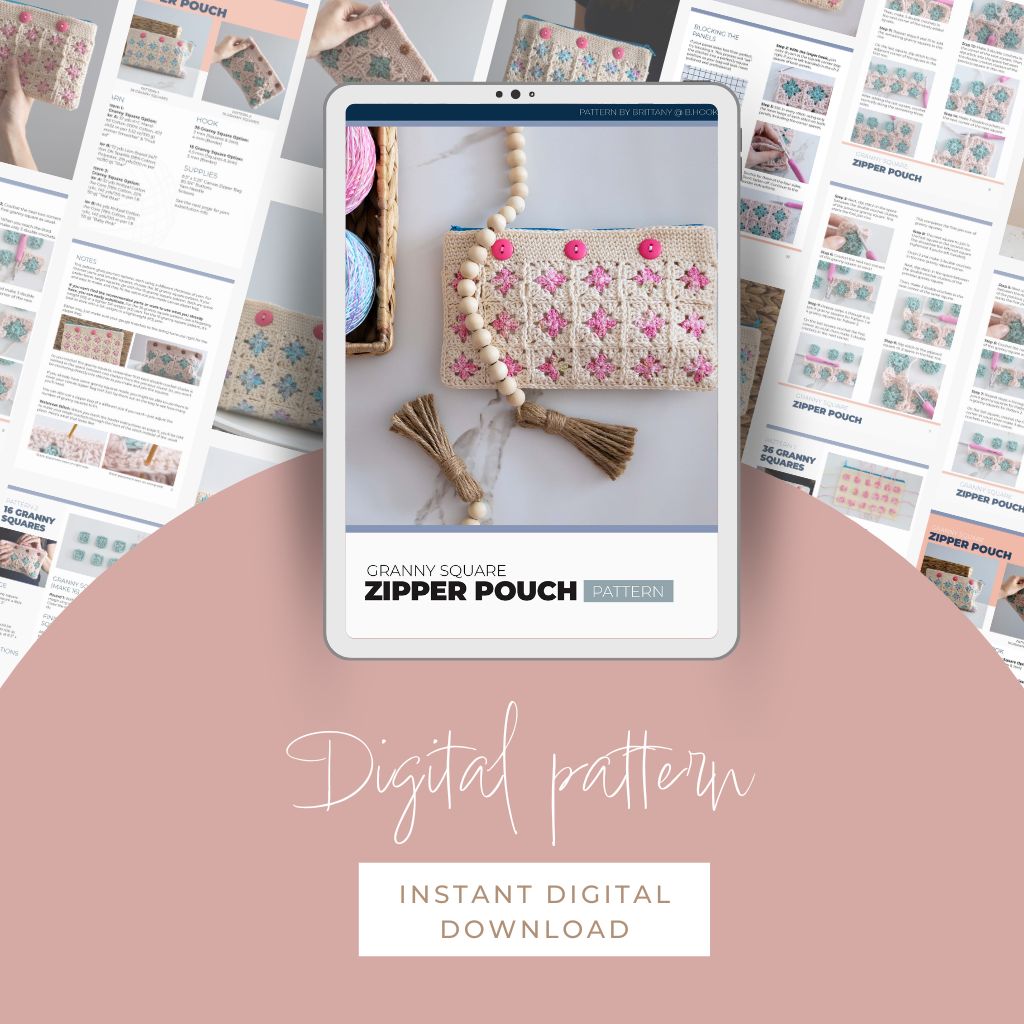
You can view the pattern completely free on this page. But, if you prefer having a digital copy that you can save or print, we’ve got you covered with that option as well.
If you’d like to support our work here at B.Hooked, purchasing the digital pattern is a wonderful way to do so!
Granny Square Canvas Zipper Bag DIY Pattern
Using a canvas bag inside crochet bags has totally transformed how I see them! There are so many options to play with – different shapes, sizes, and ways to put together your squares. Plus, you can have fun picking out yarn colors! This pattern uses a small zipper pouch that’s perfect for holding all the little things.
I couldn’t stop at just one bag either. I ended up making two size options – one with 36 small granny squares (pattern 1), and one with 16 larger granny squares (pattern 2). Both patterns fit the same size canvas zipper bag so if you have a few of them, you can try both patterns!
Recommended Supplies
Pattern 1: 36 Granny Squares
- Color A: About 32 yds; K+C Hand Dyed Cotton
- Color B: About 72 yds; Lion Brand 24/7 Cotton DK Sparkle
- 8.5″ x 5.25″ Canvas Zipper Bag
- 3 mm Crochet Hook (Squares & Join)
- 4 mm Crochet Hook (Border)
- Yarn Needle
- Scissors
Pattern 2: 16 Granny Squares
- Color A: About 32 yds; Knitpal Cotton to the Core DK
- Color B: About 84 yds; Knitpal Cotton to the Core DK
- 8.5″ x 5.25″ Canvas Zipper Bag
- 4.5 mm Crochet Hook (Squares & Join)
- 5 mm Crochet Hook (Border)
- Yarn Needle
- Scissors
If you want to make a bag that looks just like mine, you’ll want to pick up K+C Hand Dyed Cotton (Summer Smoothie & Fruit Salad) and Lion Brand 24/7 DK Sparkle (Star) for pattern 1, or Knitpal Cotton to the Core DK (Teal Blue & Baby Pink) for pattern 2.
Since pattern 1 uses much smaller granny squares, this requires a much thinner yarn than pattern 2. But if you look at the yarn label for both, you’ll notice that Hand Dyed Cotton is a super fine (#1) yarn weight category, and 24/7 DK Cotton Sparkle is a lightweight (#3). Even though they are in different weight categories, their thickness is similar so they work together in this pattern.
If you can’t find either of these yarns or you want to use something you already have, it’s best to choose a fine-weight yarn (#2), or a yarn you know is a thinner lightweight (#3).
Pattern 2 uses fewer granny squares and a thicker yarn. I’ve been reaching for Knitpal’s Cotton to the Core DK yarn lately, and it’s a great option for this pattern. I love the color options they have available! But if you want to use a different yarn, you can easily substitute. For pattern 2, choose a DK or lightweight (#3) yarn.
All of these options are cotton or cotton blend yarns because they’re durable and easy to care for. That’s something you’ll want to consider when choosing a substitute.

Pattern 1 and pattern 2 both use the same size zipper bag, 8.5″ x 5.25″. For mine, I ordered these zipper bags from Amazon. I love how each zipper is a different color!

Abbreviations
This pattern is written using standard US crochet terminology.
- Ch Chain
- Dc Double Crochet
- Hk Hook
- Rem Remaining
- Sc Single Crochet
- Slst Slip Stitch

Pattern Notes
This pattern gives you two options, each using a different thickness of yarn. For thinner yarns and smaller squares, choose the 36 granny square pattern. If you prefer fewer, larger squares, go with the 16 granny square pattern. Both are quick and easy to make, and they fit the same size pre-made canvas zipper bag.
This pattern starts by crocheting several single-round granny squares, that are then joined using the continuous join-as-you-go method to create a panel.
As you crochet the granny squares, remember that each double crochet cluster is worked in the space between two clusters from the previous round. So, you won’t be crocheting directly into stitches as you make and join the squares.
If you already have some granny squares made, you might be able to use them to cover your canvas zipper bag too! Just lay them out on the bag to see how many you’ll need.
You can also use a zipper bag of a different size if you want—just adjust the number of granny squares to fit.
Waistcoat Stitch: When you reach the border instructions below, you’ll be told to make your single crochets through the front of the stitch instead of the usual place. Here’s what that looks like:


Gauge and Finished Size: Your finished cover will fit an 8.5″ x 5.25″ canvas bag. To check your gauge, crochet a two-round granny square and measure it. For pattern 1, the granny square needs to measure 1.5″. For pattern 2, it needs to measure a little larger than 2″ (but less than 2.25″)
If you plan to block your granny squares before assembling them, you’ll need to be sure these are the measurements after blocking them. Here’s a really helpful article about blocking granny squares!
While this pattern is easy to follow, a lot of work went into making it fit just right for the size canvas zipper bag we’re using. You can make small changes to the size by using a bigger or smaller hook than recommended. But if your zipper bag is much bigger, the pattern will need to change. For now, this pattern fits the most common zipper bag you can buy, and if you want to see how I designed this pattern, be sure to watch the video below!

Granny Square Canvas Zipper Bag Pattern Instructions
Granny Squares
Make 36 for Pattern 1, or 16 for Pattern 2
Round 1: With color A and the smaller hook, make a magic ring with the following: [3 dc, ch 2] four times. Close the magic ring and join with a slst to the first dc.

Finishing the Granny Squares
After finishing the first round, cut the working yarn (leaving a long enough tail to weave in). Pull the tail through the last stitch to secure it. Then use a yarn needle to weave in the loose ends along the back side of the granny square.
If your granny squares look less than perfect, no worries! It’s pretty common for the sides and corners to be a little rounded. Blocking after joining them together will be a big help.
Separate the squares into two sets of 18, one for the front and one for the back. You will work through the join twice – once for each side. Then continue to the joining steps below.
Joining the Granny Squares
The join-as-you-go method is a quick and easy way to connect squares while crocheting the final round at the same time. There are different ways to join as you go, but this pattern uses one of the simplest methods: the continuous join-as-you-go. With this technique, you won’t need to cut the yarn between squares like with other methods. That means fewer ends to weave in later!
No matter which pattern you’re working on, just follow these steps to join the squares for both panels. Use the smaller of the two hook sizes for both patterns.
Step 1: If using different colors, decide how you want your granny squares to be arranged in your project. Start with the bottom right square (or bottom left if you’re left-handed).
Step 2: Attach the yarn to any corner of the granny square. Instead of chaining 3 like you usually would, just make 2 chains. Then, make 2 double crochets in that same corner.

Step 3: Crochet the next two corners of this first granny square as usual.
Step 4: When you reach the third corner, make only 3 double crochets.

Then, chain 2, and make 3 double crochets in the corner of the new granny square.


Step 5: Next, slip stitch in the space between the double crochet clusters of the previous granny square. This starts the first join row.

Step 6: Crochet the next two corners of this granny square as usual.

Step 7: Repeat steps 4 through 6 to join 6 granny squares for Pattern 1 or 4 granny squares for Pattern 2.
On the last square, crochet the first corner as usual, then make 3 double crochets in the next corner.

This completes the first join row of granny squares.
Step 8: The next square to join is the first square in the second row. This should be the leftmost square (rightmost if you’re left-handed).
Chain 2 and make 3 double crochets in the new granny square corner.
A digital pattern is available in our shop so you can print out the pattern
Next, slip stitch in the space between the double crochet clusters of the previous granny square.
Then, make 3 double crochets in the next corner of the same square.

Step 9: Slip stitch to the adjacent square ch 2-space in the first row.

Step 10: Chain 1, then make 3 double crochets in the corner of a new square. Slip stitch into the space between the double crochet clusters of the adjacent square in the first row.

Then, make 3 double crochets in the next corner of the newly added square.
Step 11: Repeat steps 9 and 10 to add the remaining granny squares in this row.
On the last square, slip stitch to the adjacent corner of the square in the first row.

After adding the last square, crochet normally along the remaining three sides.

Step 12: Chain 1, then slip stitch into the opposite corner of the second granny square (the one diagonal from your hook). Rotate your work and chain 1.

Step 13: Make 3 double crochets in the corner of the new square. Then, slip stitch into the space between the double crochet clusters of the previous square in this row.

Step 14: Make 3 double crochets in the next corner of the next square.

If working on Pattern 2 or the third join row of Pattern 1: Slip stitch in the corner of the first granny square in this row. Chain 1 and continue.
Step 15: Crochet along the top edge and down the side of this square as usual.

Step 16: Repeat steps 12 through 15 to complete the second row join.
If working on Pattern 1 only: Repeat steps 8 through 15 to complete the third join row. Make sure to slip stitch the corners together in step 14.

When you have 3 rows of squares joined (for Pattern 1) or 2 rows joined (for Pattern 2), it’s time to finish the remaining sides.
When you reach the half-worked corners, here’s what to do:
Make 3 double crochets in the first corner. Then, slip stitch into the chain-2 space. Continue crocheting along the unworked edges in the same way.


When you get to the last corner, chain 1 and slip stitch to the first double crochet of the first square.

Blocking the Panels
If your panel looks less than perfect, try blocking it. This process will “set” the stitches into a perfectly square position so your bag will look more polished and professional.
Attaching the Two Panels (Both Patterns)
Step 1: Lay out your panels, one on top of the other with the wrong sides facing inward.

Step 2: With the larger hook, join color B yarn at the top left corner (top right if you’re left-handed) in the ch 2 spaces of both panels.

Step 3: Slst in every stitch using only the inner loops of each stitch on both panels, including the corner spaces.

Do this for three of the four sides. Don’t fasten off. Continue to the border instructions.
Adding the Buttons (Both Patterns)
Evenly space 3 or 4 buttons, and sew them to the canvas zipper bag. Do this for both sides. If you want to use more or fewer buttons you can!

Border Instructions (Both Patterns)
For both patterns, use the larger of the two hook sizes.
Round 1: Make 1 single crochet in every stitch, and every chain 2-space of each granny square. Don’t join. Continue working in a spiral.
*Note: all single crochets from this point on are worked through the middle of the stitch (instead of the traditional “location”v” at the top). Work them through the middle of the single crochet from the previous round. This is called the “waistcoat” stitch. See Notes for more info.

Patterns 1 & 2:
Round 2: Sc in every st. Don’t join. Continue working in a spiral.
For pattern 1, continue to the buttonhole round.
Pattern 2 Only:
Rounds 3-5: Sc in every st. Don’t join. Continue working in a spiral.
Patterns 1 & 2:
Slide the canvas pouch into the work so you know where to make the buttonholes in the next step.

Patterns 1 & 2:
Buttonhole Round: Make 1 sc in every stitch just until you reach the first button. *Ch 3 and skip 3 sts for pattern 1, or Ch 2 and skip 2 sts for pattern 2. Then sc in each st to the next button. Rep from * until you have created a hole for each button. Don’t join. Continue to work in a spiral

Next Round: *Make 1 sc in every st until you reach a chain space. Make 3 sc in the chain space for pattern 1, or make 2 sc in the chain space for pattern 2. Rep from * to the end of the round.
Patterns 1 & 2:
Next 3 Rounds: Make 1 sc in every st.

At the end of the 3rd round, before you fasten off, make a slst in the last stitch to correct the jog from crocheting in a spiral. Weave in any remaining ends.
Finishing
Your bag should fit easily over the canvas pouch, but if it’s a little snug, you can block it to stretch it a bit. Secure all of the buttons to hold the cover in place, and easily remove them if you need to wash the canvas liner or the crochet cover.
Be sure to follow the yarn label guidelines for washing if you plan to do so!

By using this pattern, you agree to our terms of use:
This pattern is for personal use only. You agree not to modify, publish, transmit, sell, create derivative works, or in any way exploit any of the content within this page, in whole or in part. If you wish to share this pattern, share a link to this webpage only. You may sell finished items made from this pattern.
Copyright, B.Hooked Crochet, LLC
Canvas Zipper Bag DIY With Granny Squares (Video)
Video not displaying? Watch this tutorial on YouTube instead.


