Do you want to learn how to join as you go granny squares without having to weave in extra ends? I’ll teach you the easiest way to do it! This method is called “join as you go,” and it’s great because it feels like you’re just crocheting along. If you don’t like the idea of joining granny squares separately, you should give this a try. I’ll give you some tips to make sure yours turn out nice, and there are pictures and a video to help you too.
UPDATED: APRIL 25, 2024 BY BRITTANY
This post may contain affiliate links. See our Disclosure Policy for more information.
Joining granny squares as you go isn’t as hard as it might seem. It takes a little practice, but once you get the hang of it, you can use this method for lots of different projects.
In this guide, I’ll show you one way to do join as you go, called the “continuous join as you go.” With this method, you don’t need to stop until all your squares are joined together. It’s a great technique to learn, especially if you don’t like the traditional ways of joining granny squares.
Here is a quick overview of the topics we’ll cover in this article:
- Why Join as You Go Granny Squares?
- How to Join as You Go Granny Squares
- Classic Granny Square Pattern
- Starting Join as You Go Granny Squares
- Finishing the Join and Your Project
- How to Join as You Go Step-by-Step Video
- Tips for Success
- What is the Easiest Way to Join Granny Squares?
Why Join as You Go Granny Squares?
If you’re tired of the tedious chore of joining granny squares, join as you go might become your new favorite method. With join as you go granny squares, you connect them while you’re still crocheting the last round of each square. It feels like you’re simply crocheting without the extra step of joining.
I really like this method because not only does it make the process more enjoyable, but it’s also super versatile. You can use it for all sorts of projects, like blankets, placemats, bags, and cardigans. Basically, join as you go is one of the most flexible techniques out there, and it’s definitely worth learning.

How to Join as You Go Granny Squares
There are a few ways to join as you go, but let’s focus on the easiest one. It’s called the continuous join as you go. With this method, you don’t need to cut the yarn between squares like you do with other methods. I like this way the best because it means fewer ends to weave in later.
Supplies
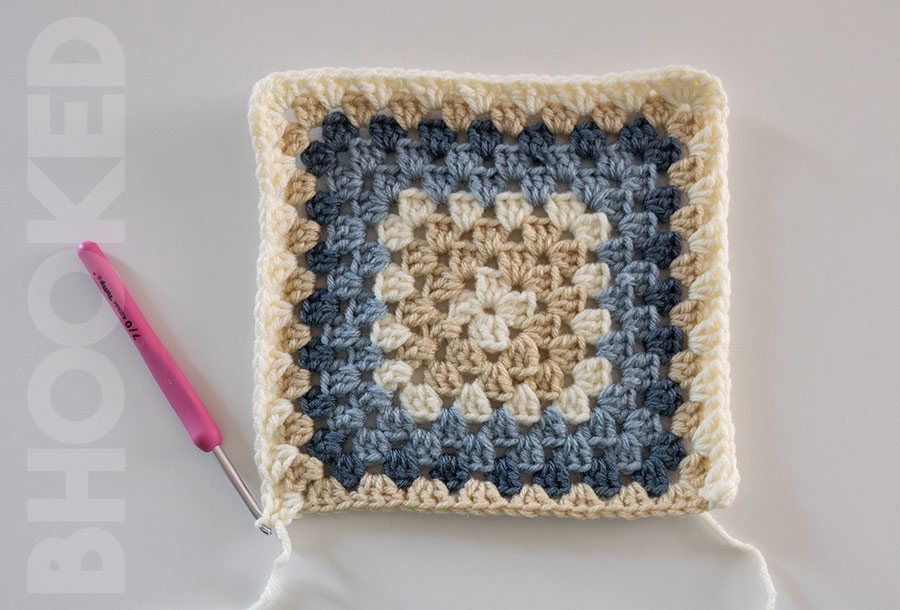
If you haven’t made granny squares yet, you’ll need to crochet a few—about six—to practice joining them as you go. If you’re new to crocheting granny squares, you can check out my beginner-friendly pattern and tutorial here.
You’ll also need:
- Yarn: For practice, use medium-weight yarn. You won’t need much for joining six squares, but if you’re working on a project, use the yarn you’re using for that instead.
- Crochet Hook: Use the same hook size you used for crocheting the squares.
Pattern Notes
- Each cluster of double crochets has three double crochets. In this pattern, I don’t include a chain between clusters in the join or in my squares.
- Each cluster of double crochets is made in the space between two clusters from the previous round. So you won’t be crocheting directly into stitches for this join.
- The side facing you as you crochet is considered the right side of the work.
- This crochet pattern is written in US terms.
Stitch Abbreviations
Before you start crocheting, get familiar with the abbreviations below. These are the abbreviations you’ll see in the pattern. For reference, this pattern is written in US terms.
- Bet | Between
- Ch | Chain
- Dc | Double Crochet
- Rem | Remaining
- Slst | Slip Stitch
- Sp | Space
- St(s) | Stitch(es)
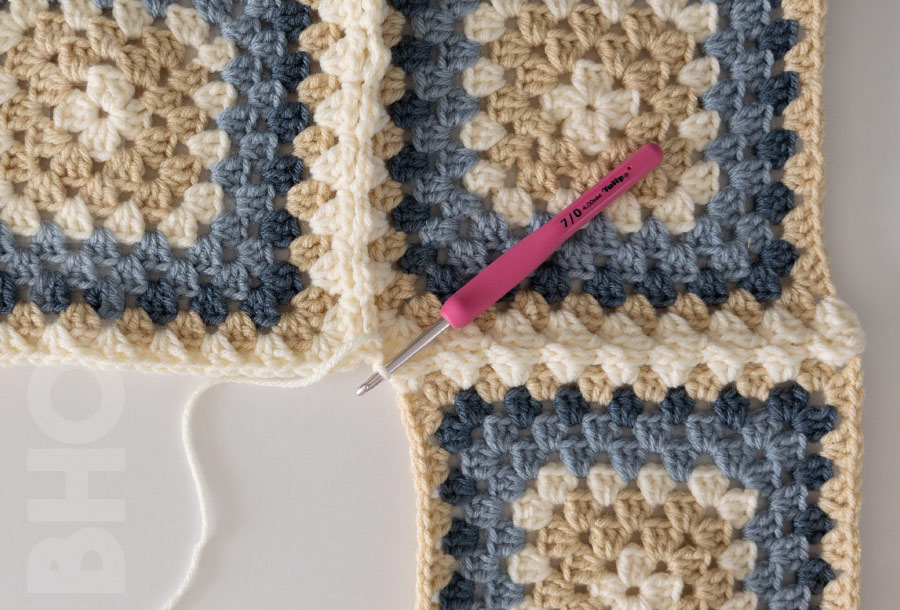
Join as You Go Granny Squares Step 1:
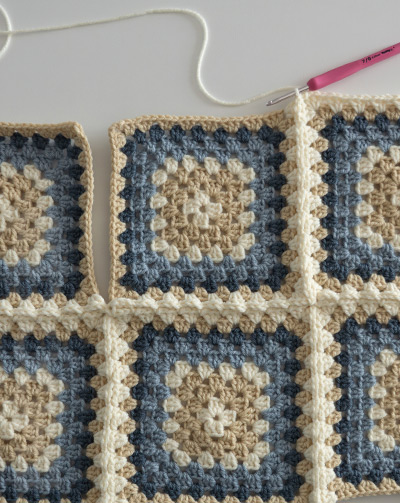
First, decide how you want your granny squares to be arranged in your project. Start with the bottom right square (or bottom left if you’re left-handed).

Step 2:
Attach the yarn in any corner of the granny square. Instead of chaining three after you join, just make one to attach the new yarn. Then make three double crochets in the same corner.


Step 3:
Crochet three sides of this first granny square as usual.
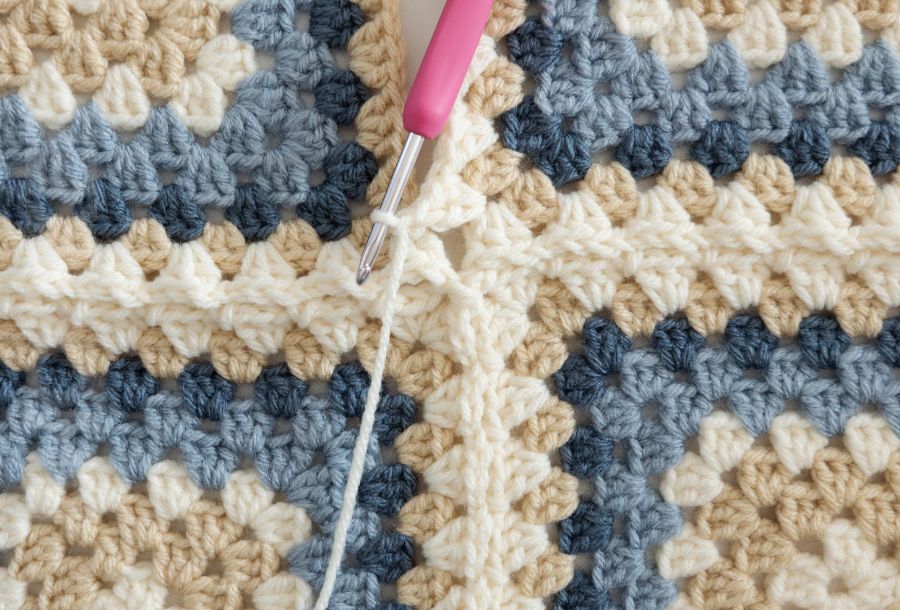
Step 4:
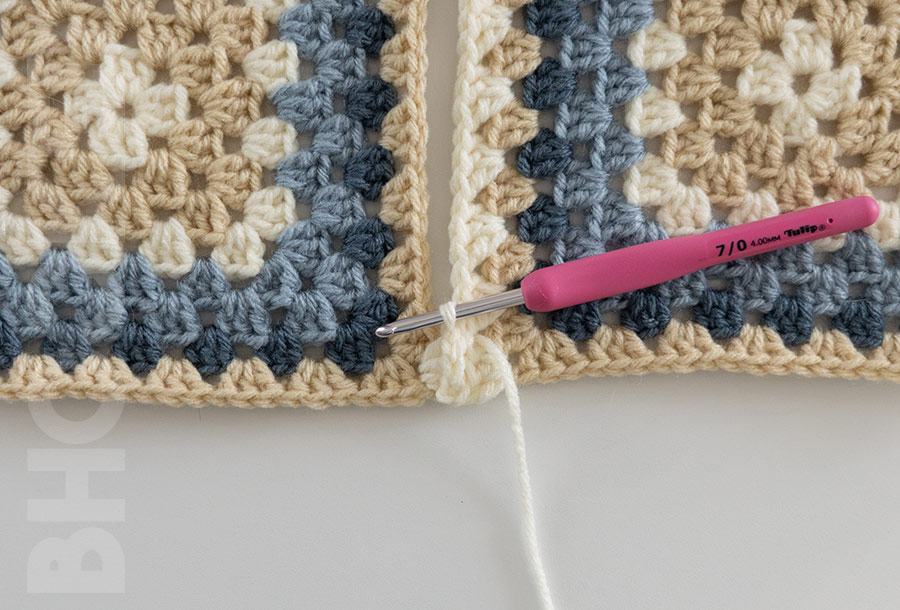
When you get to the third corner, make only three double crochets. Then slip stitch to the next granny square without making any chains. Make three double crochets in the new granny square corner.

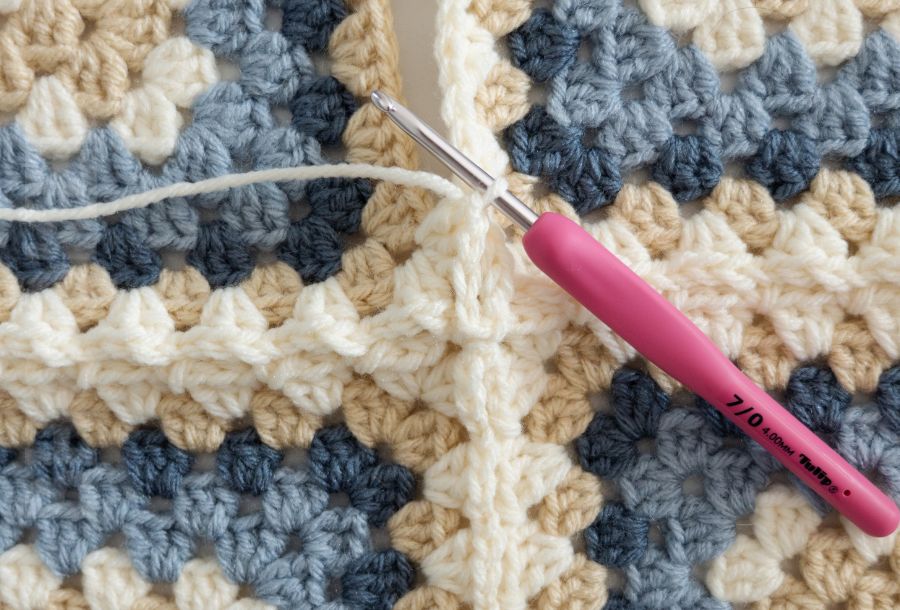
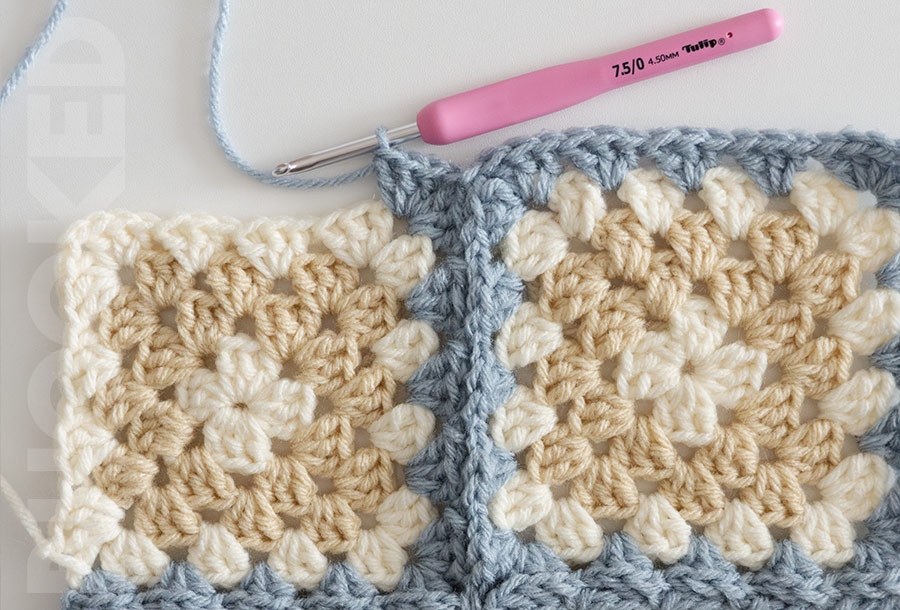
Step 5:
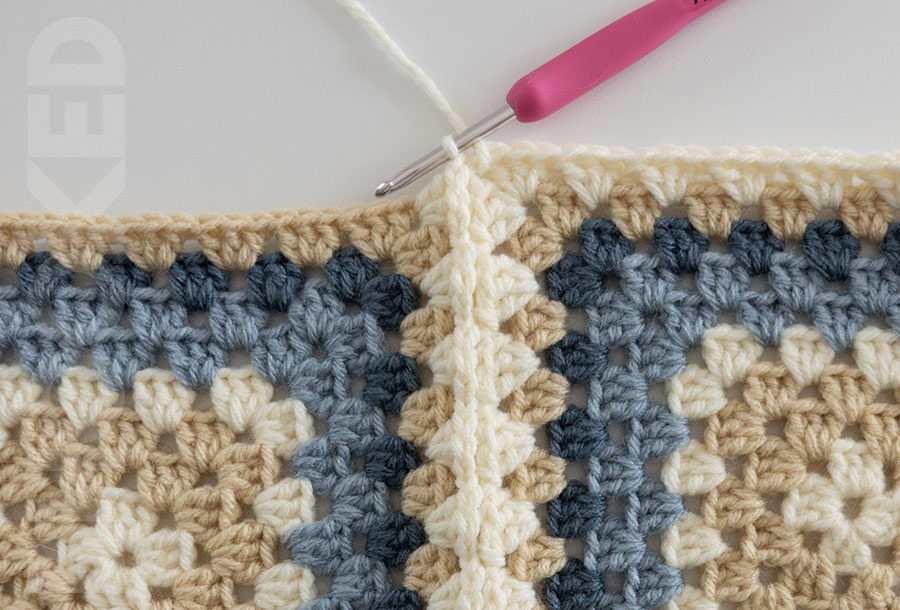
Next, slip stitch in the space between double crochet clusters on the first granny square. This starts the first join row.

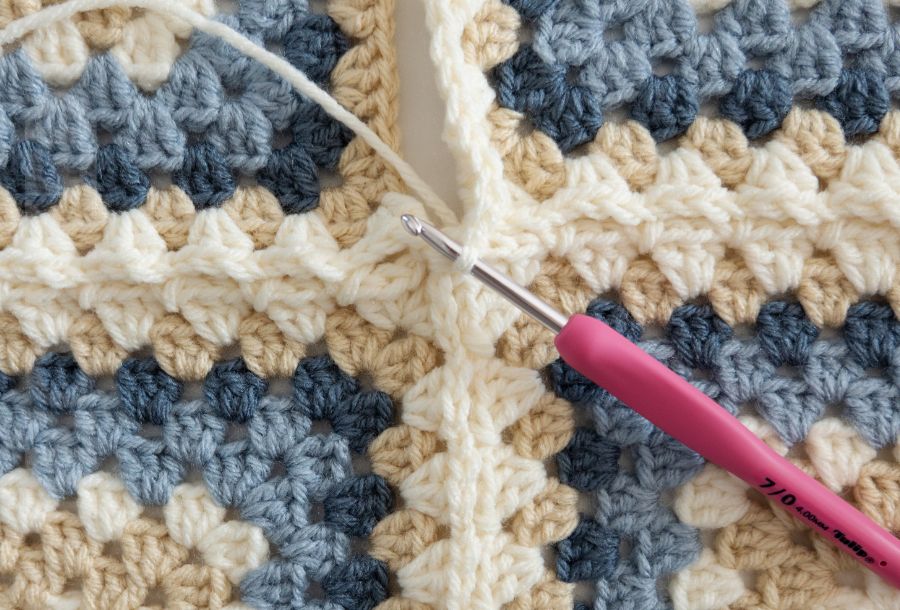
Step 6:
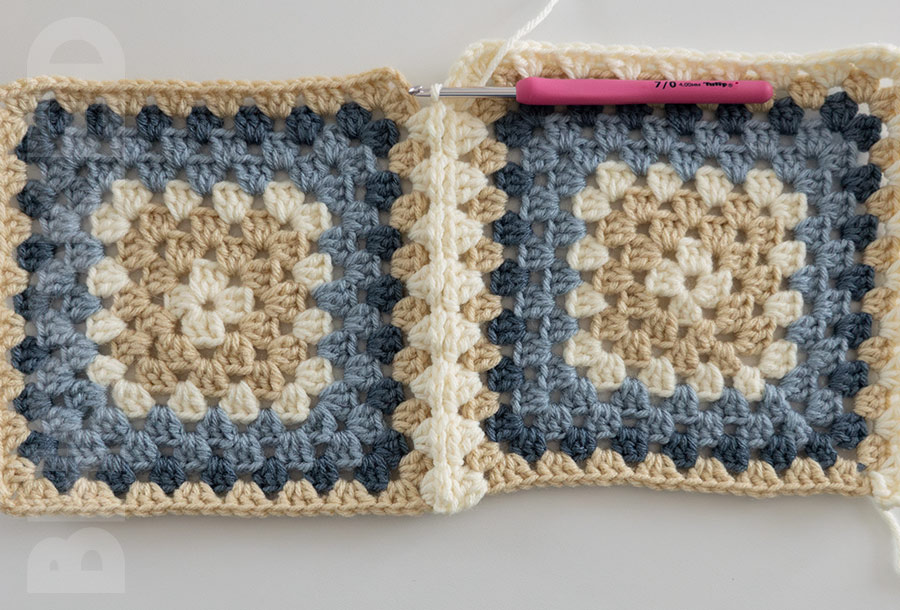
After the slip stitch, make your next cluster of double crochets as usual. Then slip stitch in the next space on the first granny square. Repeat this until you reach the corner of the second granny square.
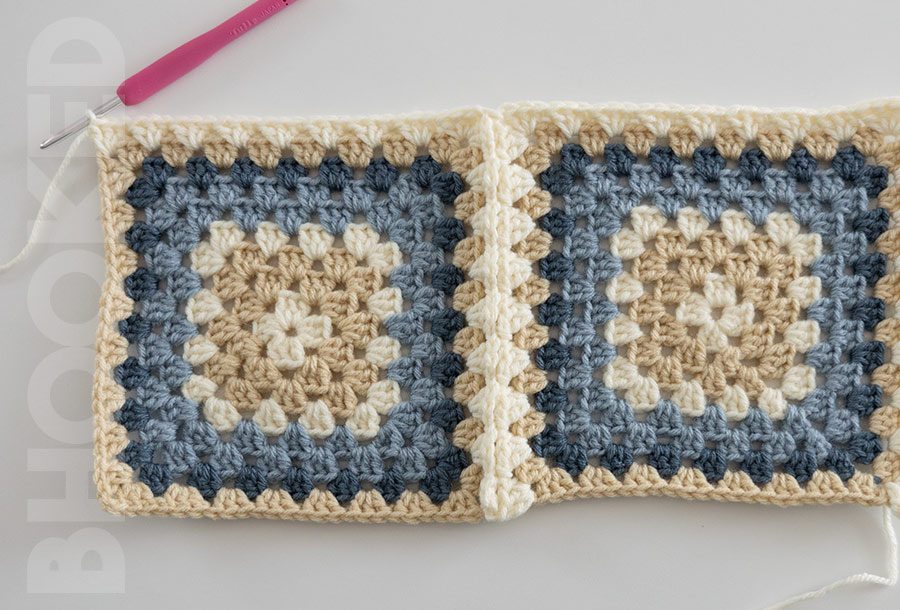
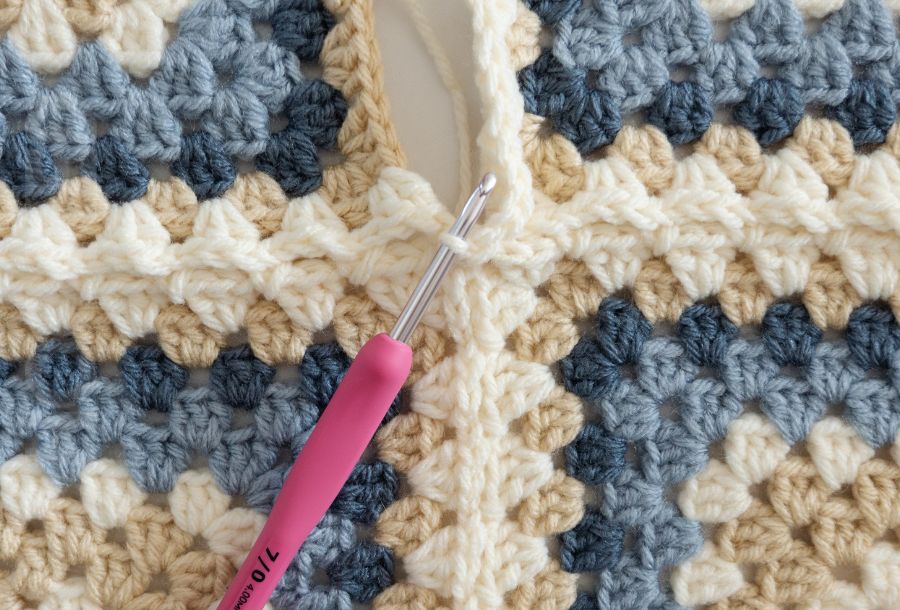
Step 7:
Crochet along the top edge and down the side of the second square as you normally would.

Step 8:
Repeat steps 4 through 6 to add more granny squares in the first row. On the last square, crochet the join side and along the top, but don’t crochet down the side.
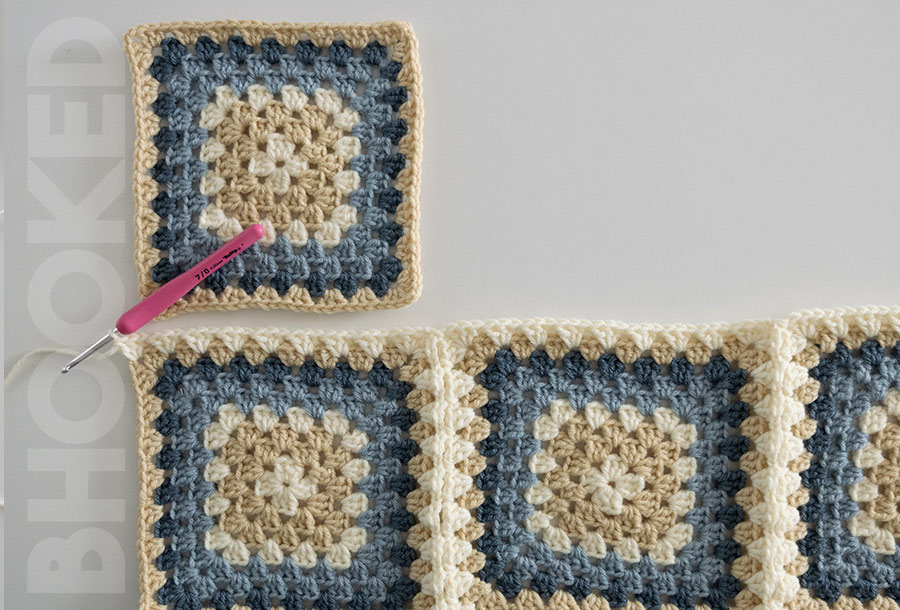
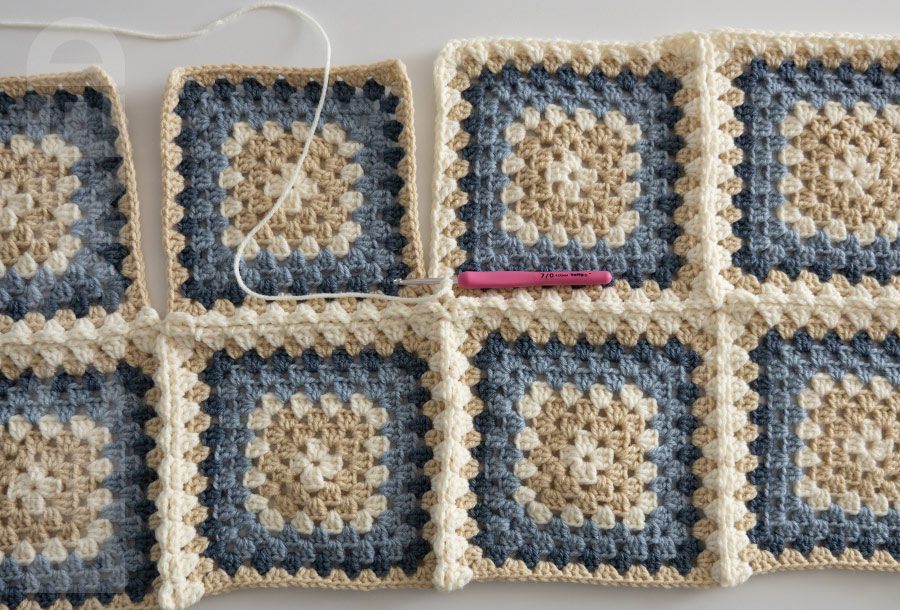
Step 9:
The next square to join is the first square in the third row of squares. This should be the leftmost square (right if you’re left-handed). Join with a slip stitch to any corner of this square and work the join row as before.
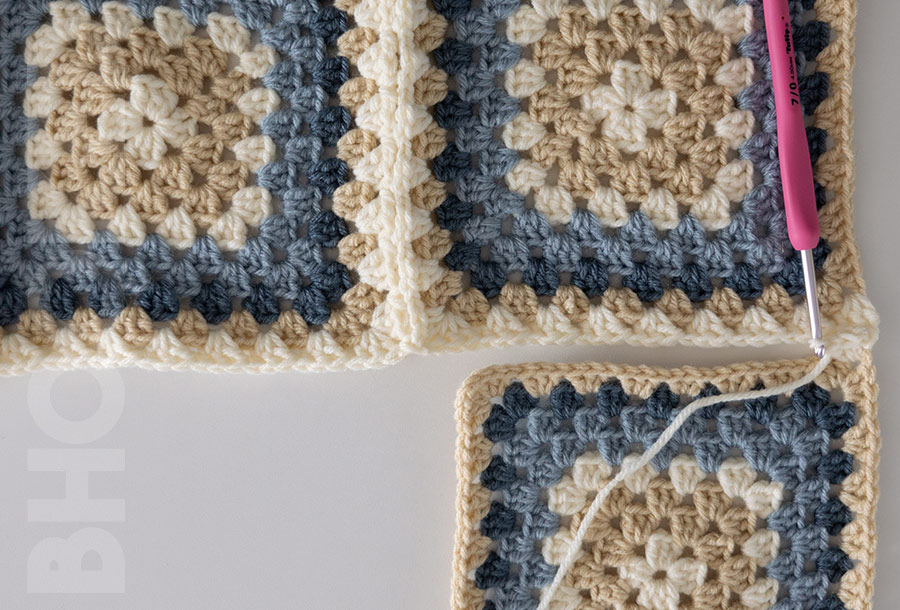
Step 10:
When you reach the corner of the new square, join with a slip stitch to the adjacent square in the first row. Then work the join row with the new square.

Step 11:
Repeat the last step for as many squares as you need to finish the second row.

Step 12:
After adding the last square, crochet normally along the three remaining sides. When you get to the last corner, make three double crochets, chain one, and slst to the corner of the adjacent granny square (the one right next to your hook.
Step 13:
Slip stitch with the corner of the adjacent square (the one right next to your hook), rotate the work, chain one, and crochet a regular join row.
Step 14:
Crochet along the top edge and down the side of this square as usual.
Step 15:
Continue with the next squares just as you joined the previous one – one join side, two regular sides.
Repeat
For subsequent rows of squares, follow the same process as the second row.

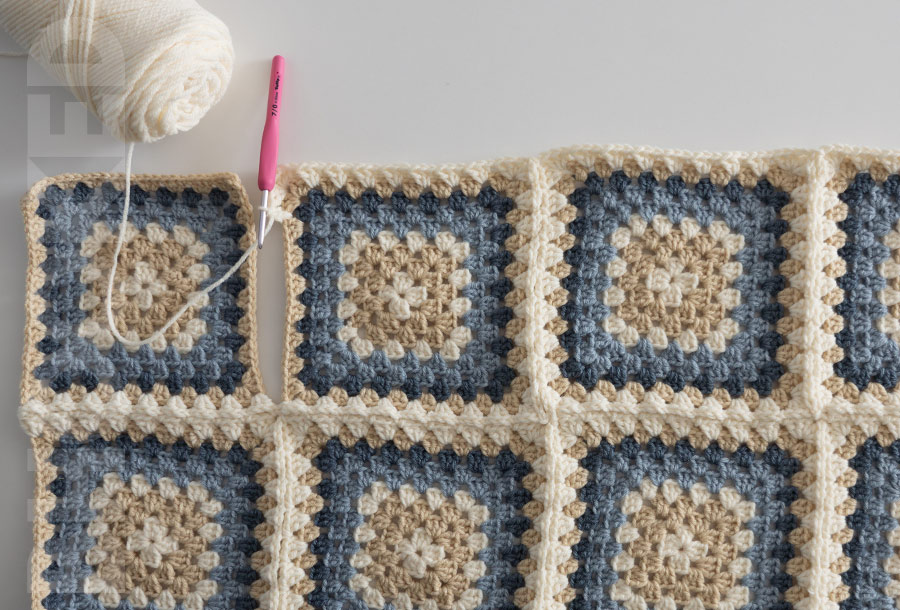
Finishing Join as You Go Granny Squares
When you have all of your squares joined, you’ll need to finish by crocheting down the side and along the bottom of your project. Just crochet these sides as you normally would for a granny square. But when you get the half-worked corners, here’s how you can handle them:
Make three double crochets in the first corner. Chain 1, then slip stitch in the space between the join.
Chain one, and make three double crochets in the next corner.
How to Join as You Go Step-by-Step Video
If you prefer learning by watching, I recommend checking out this video. In it, I’ll guide you through joining six granny squares using the continuous join as you go technique.
Video not displaying? Watch this tutorial on YouTube instead.
Right-Handed Tutorial on YouTube
Tips for Success
Join as you go granny squares might seem scary at first, but don’t worry! You can learn this technique with practice and patience.
When I was learning this myself, I found it helpful to focus on understanding what needs to happen instead of memorizing every step. So, while I’ve broken it down step-by-step for you to see, I encourage you to try joining as you go without constantly referring to the steps. This way, you can really understand the process, even if you make a few mistakes along the way.
It’s also a good idea to experiment with the corners a bit on your own. You might discover that using more chains, joining in a different spot, or not using chains at all gives you a look you prefer. What matters most is what you like! Don’t stress about what’s “right” or “wrong” – whatever looks good to you is the way to go.
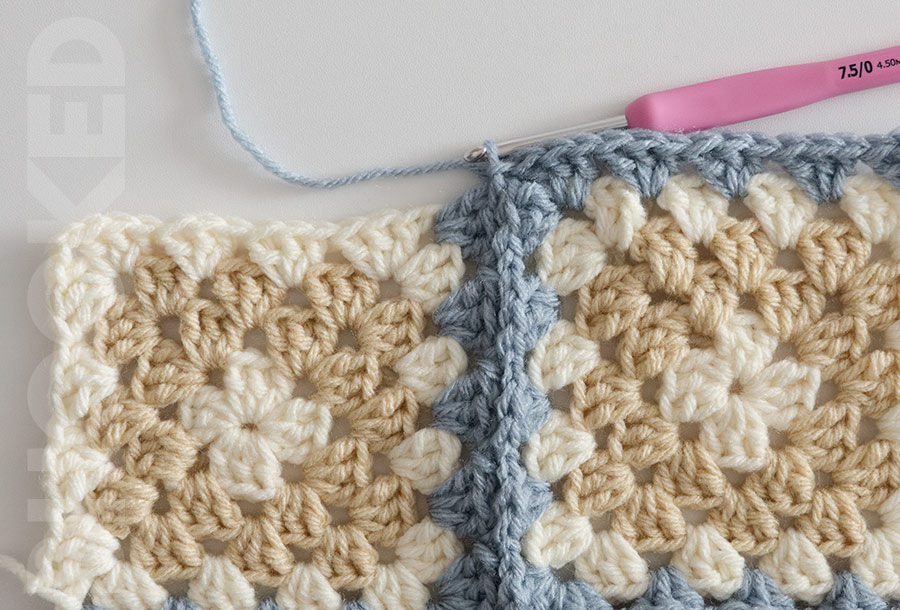
What is the Easiest Way to Join Granny Squares?
There are many ways to join granny squares, each with its own purpose and suitability. But when you need a quick and easy join, you can’t go wrong with the invisible seam. This join gives them a “fused at the edges kind of look”.

You can learn how to do this quick and easy join in our helpful guide here. There’s a video tutorial and written instructions as well.
For more simple ways to join these squares, check out our article here.


