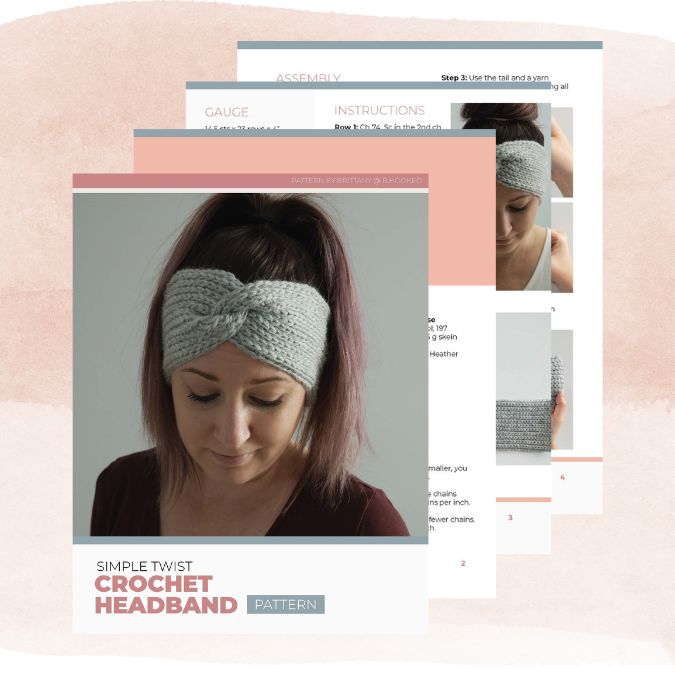
Learn how to make a twist crochet headband this weekend and enjoy wearing it throughout the season! These cozy headbands are easy to create, and you can finish one in less than two hours. Find the free pattern on this page, or if you like, you can buy the ad-free, printable PDF from our shop.
UPDATED: DECEMBER 5, 2023 BY BRITTANY
This post may contain affiliate links. See our Disclosure Policy for more information.

Skill Level | Easy
Finished Size | Fits 21″-22″ Head Circumference
I adore a good twist crochet headband because they look cute on everyone, even if you’re not usually into headbands.
For this pattern, we use a super textured medium-weight yarn, which gives it a lovely organic look and feel. But, if you have any medium-weight yarn at home, feel free to use that instead. No need to go yarn shopping—unless you want to!
This simple guide will take you through the easy steps to crochet your very own twist crochet headband.
About Our Simple Twist Crochet Headband
When I say simple, I really mean it! This comfy twist crochet headband is crafted in rows—no tricky rounds or repeats to stress over! With just two types of stitches and an easy two-row repeat, this project is the ideal couch buddy. The stitch pattern is one of my favorites because it resembles a classic knit stitch. I used it in one of my favorite hat patterns too!
The cool part is how the twist comes to life. There’s a clever little trick to join it together, making it look like there’s a twist built-in, but it’s simpler than you might think. Knowing this technique is handy because you can use it for any headband, no matter the style!
If you’re curious about this project, have questions, or need pattern details, keep reading. Or, if you’re excited to begin, just head straight down to the free pattern. Happy crocheting!
Pattern Overview:
- Supplies
- Buy the ad-free, printable pattern
- Abbreviations
- Pattern Notes
- Gauge & Finished Size
- Simple Twist Crochet Headband Written Pattern
- How to Assemble Your Headband
- More Super Quick Crochet Projects + Free Patterns

You can view the pattern completely free on this page. But, if you prefer having a digital copy that you can save or print, we’ve got you covered with that option as well.
If you’d like to support our work here at B.Hooked, purchasing the digital pattern is a wonderful way to do so!
Recommended Supplies
- 90 yds Medium-Weight Yarn (#4); Lion Brand Wool Ease (Color shown: Grey Heather)
- 6.5 mm Crochet Hook
- Yarn Needle
- Scissors
Abbreviations
This pattern is written using standard US crochet terminology.
- BBO Back Loop Only
- Ch Chain
- Cont Continue
- Hk Hook
- Rem Remaining
- Rep Repeat
- Sc Single Crochet
- Sk Skip
- Slst Slip Stitch
- St(s) Stitch(es)

Pattern Notes
This headband is made in a flat piece and put together in the final steps. Make sure to check your gauge. If needed, change the size of your hook to match the gauge.
You can use any medium-weight (#4) yarn you have, but remember to check your gauge and adjust your hook size if necessary.
Also, the chain one at the start of the row doesn’t count as a stitch.
While the stitch pattern used in this headband has less inherent stretch than other stitches, you can make quick and easy adjustments if you need it to be a little bigger or a little smaller.
To make it bigger – add more chains initially. About four more chains per inch.
To make it smaller – crochet fewer chains. About four chains less per inch.
Additionally, you should know that the chain one at the beginning of the row doesn’t count as a stitch.
Gauge: 14.5 sts and 23 rows = 4″ worked in stitch pattern.
Not sure what gauge is? Check out our comprehensive guide to learn all about it here.
Finished Size
Fits 21-22″ head circumference
Simple Twist Crochet Headband Written Pattern
Row 1: Ch 74. Sc in 2nd ch from hk and in each rem ch. Ch 1 and turn.
Row 2: Using both loops of the stitch, slst in each st. Ch 1 and turn.
Row 3: Sc in the BLO of each st. Ch 1 and turn.
A digital pattern is available in our shop so you can print out the pattern
Repeat: Rep rows 2 and 3 until work measures 4” from the starting edge, ending after finishing a 3rd row. Fasten off leaving a tail that’s about 10″ long.
Continue to the assembly instructions.

Twist Crochet Headband Assembly
Step 1:
Lay the headband on a flat surface, with the right side facing up. At each end, fold the two short corners together.

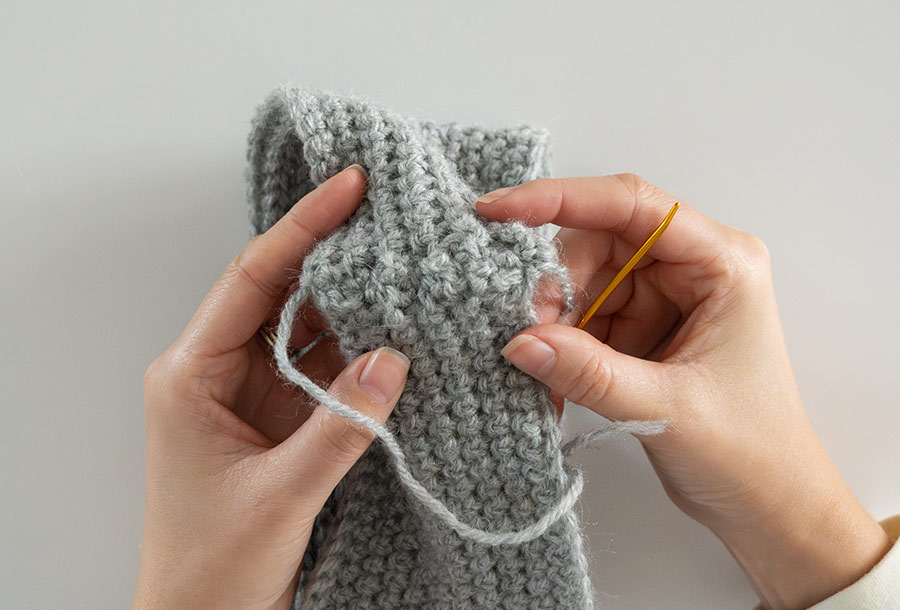
Step 2: Bring the two folded ends together, sliding one half of either fold inside the other. This will create four layers.


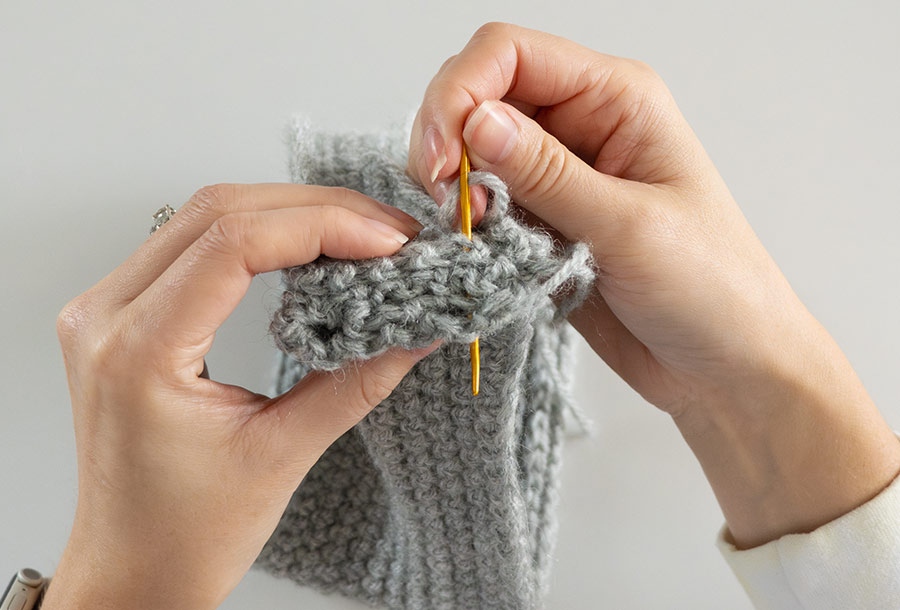
Step 3: Use the tail and a yarn needle to make a seam catching all four layers.
Step 4: Weave in ends and turn right-side out.

By using this pattern, you agree to our terms of use:
This pattern is for personal use only. You agree not to modify, publish, transmit, sell, create derivative works or in any way exploit any of the content within this page, in whole or in part. If you wish to share this pattern, share a link to this webpage only. You may sell finished items made from this pattern.
Copyright, B.Hooked Crochet, LLC
More Quick Crochet Projects + Free Patterns
We love making quick and easy-to-make projects. Check out some of our other tutorials with free crochet patterns that work up in a jiffy:
- Everyday Carry-All Bag
- Easy Textured Headband
- Cozy Wrist Warmers
- Simple Crochet Mug Cozy
- Chunky Crochet Beanie in 2 Hours
- Spiral Crochet Coasters
- Crochet Butterfly
- Crochet Star
*Disclosure: Some of the links in this post are affiliate links, which means as an Amazon Associate, I earn from qualifying purchases made through these links. Please note that prices and availability of products are subject to change. This comes at no additional cost to you and helps support the content on this site. I only recommend products that I have personally used and genuinely believe in. Thank you for your support!