If you love texture, you’re going to love to knit double moss stitch. This easy-to-knit stitch pattern has a beautiful, bumpy texture that looks more complex than it really is. It’s perfect for scarves, blankets, dishcloths, and anywhere you want a little extra detail without too much fuss.
UPDATED: MAY 22, 2025 BY BRITTANY
This post may contain affiliate links. See our Disclosure Policy for more information.

What makes the double moss stitch so great is how it creates a dense, cushy fabric that lies flat and doesn’t curl at the edges. Plus, it’s a wonderfully relaxing stitch to work because it repeats in a simple pattern that’s easy to remember once you get the hang of it.
Whether you’re new to knitting or looking to add a new texture to your projects, the double moss stitch is a fantastic stitch to have in your toolkit.
In this step-by-step guide, I’ll walk you through exactly how to knit this beautiful stitch, row by row, so you can stitch it up with confidence—even if you’re still getting the hang of knitting.
Here’s a quick overview of the topics we’ll cover in this article:
- What is the Double Moss Stitch?
- Double Moss Stitch Tutorial
- Stitch Multiple
- Double Moss Stitch Abbreviations
- Double Moss Stitch Step-by-Step Video
- How to Knit in the Round
- Tips for Success
- Common Mistakes to Avoid
- Double Moss Stitch FAQ
- Double Moss Stitch Project Ideas
What Is the Double Moss Stitch?
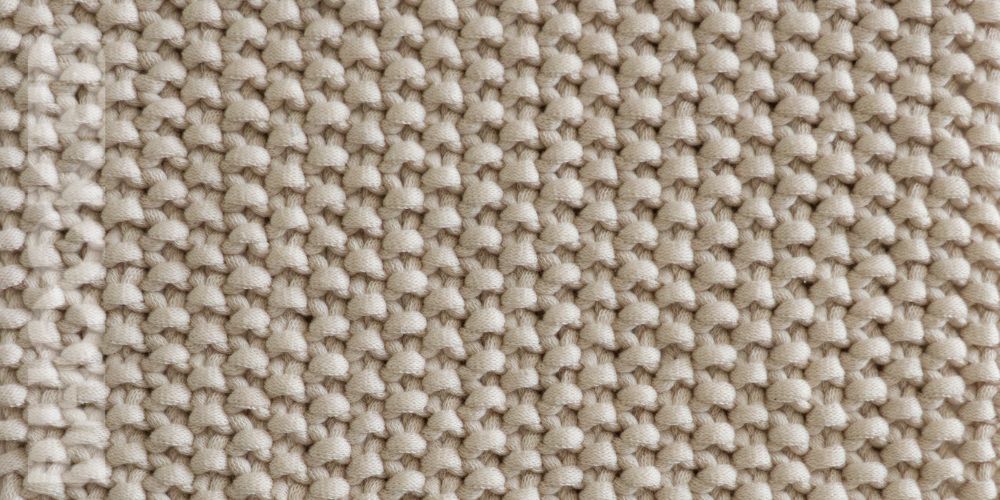
The double moss stitch is a textured knitting pattern made by alternating knit and purl stitches in a specific sequence over multiple rows. Unlike the regular moss stitch, which usually repeats every two rows, the double moss stitch has a four-row repeat that gives it a chunkier, more defined texture.
This stitch creates a lovely, bumpy fabric that looks like little pebbles or bumps all over your work. It’s great for adding visual interest and thickness without making your project bulky. Because it lies flat and has a firm but soft feel, it’s perfect for everything from cozy scarves and blankets to dishcloths and even sweaters.
If you enjoy stitches with texture that stand out but are still easy to knit, the double moss stitch is definitely worth trying!
Double Moss Stitch Tutorial
This stitch is really versatile so you can pair it with just about any yarn in your stash from lightweight to super bulky. In order to see the stitch pattern the best, try using a smooth yarn that’s easy to see the stitches as you knit.
Supplies
- Yarn: For practice, use medium-weight yarn. You’ll only need a small amount to make a practice swatch.
- 5.5 mm Knitting Needles
Pattern Notes
- This is a reversible stitch pattern so it will look the same on the front as it does the back.
Stitch Multiple
For the double moss stitch, the multiple is 2 stitches.
That means the stitch pattern repeats every 2 stitches (usually one knit and one purl), so you’ll cast on a stitch count that’s a multiple of 2 (or simply an even number) to keep the pattern consistent across your project.

Abbreviations
- CO Cast On
- K Knit
- P Purl
- St(s) Stitch(es)
Start by casting on any even number of stitches—try 20 to make a small practice swatch. You can use any cast-on method you like, such as the long-tail cast-on.
Row 1: *K1, P1. Rep from * to the end of the row.
Row 2: *K1, P1. Rep from * to the end of the row.
Row 3: *P1, K1. Rep from * to the end of the row.
Row 4: *P1, K1. Rep from * to the end of the row.
Repeat: Rep rows 1-4 until your project measures the length you want.
Bind Off
When you’ve finished knitting your piece, you’ll want to bind off your stitches neatly to keep the edge just as tidy as the rest of your work.
- Knit the first two stitches as usual.
- Use your left needle to lift the first stitch you knitted over the second stitch and off the needle.
- Knit the next stitch.
- Repeat lifting the previous stitch over the new stitch until you’ve worked through all stitches.
- When only one stitch remains, cut your yarn, leaving a tail about 6 inches long.
- Pull the tail through the last stitch to secure it.
This bind-off method keeps your edge flexible and even, matching the neat texture of the double moss stitch.
How to Knit Double Moss Stitch in the Round
Knitting this stitch in the round creates a seamless tube of beautifully textured fabric — perfect for hats, cowls, sleeves, and more. The main difference when knitting in the round is that you’ll always be working on the right side, so the pattern shifts slightly compared to flat knitting.
Here’s how to do it:
- Cast on a multiple of 2 stitches to keep the pattern consistent around your work.
- Join your stitches carefully, making sure not to twist your work.
- Instead of alternating knit and purl stitches row by row like you do when knitting flat, you’ll alternate stitch patterns every round.
Basic round pattern:
- Round 1: K1, P1 around.
- Round 2: P1, K1 around.
- Repeat these two rounds to create the double moss stitch texture.
Because you’re always working on the right side, the stitch pattern shifts every round instead of every row. This creates the same lovely bumpy texture that lies flat and looks just like the double moss stitch knit flat.
Tips for Success with Double Moss Stitch
Keep your tension even. Because this stitch has lots of knit and purl stitches close together, uneven tension can make the texture look uneven. Try to keep your stitches consistent for the best results.
Use stitch markers if needed. If you’re working on a large project, placing markers every multiple of 2 stitches can help you stay on track and avoid mistakes.
Count your rows carefully. The double moss stitch follows a 4-row repeat, so keeping track of which row you’re on will help the pattern flow smoothly.
Practice the knit-purl transitions. If you’re new to switching between knit and purl stitches, take your time practicing the transitions to build confidence and speed.
Swatch first! Before starting a big project, knit a small swatch of the double moss stitch to get comfortable with the pattern and check your gauge.
Don’t rush. Textured stitches like the double moss stitch can be a bit slower to work than plain knitting, but the beautiful results are worth it.
Common Mistakes to Avoid
Mixing up knit and purl stitches. Because this stitch relies on alternating knit and purl stitches, accidentally switching them can disrupt the pattern and texture. Pay close attention to each stitch, especially when transitioning between rows.
Losing track of the row count. The double moss stitch repeats every 4 rows. Skipping a row or knitting the wrong row can throw off the pattern, so use a row counter or mark your progress to stay on track.
Casting on the wrong number of stitches. Remember, this stitch requires a multiple of 2 stitches. Casting on an odd number can cause your edges to look uneven or the pattern to break.
Tension inconsistencies. Uneven tension can make the texture look uneven or cause your piece to pucker. Try to keep your stitches loose enough to be flexible but snug enough to hold their shape.
Not checking your work regularly. It’s easy to miss a mistake early on, and it can be tricky to fix several rows later. Take a moment every few rows to check that your pattern is lining up correctly.
Frequently Asked Questions About Knitting Double Moss Stitch
Can I use any yarn for the double moss stitch?
Yes! The double moss stitch works well with most yarn types, but medium-weight yarns (like worsted or DK) show the texture best. Avoid very thin or super bulky yarns if you want the stitch definition to really stand out.
Is the double moss stitch reversible?
Yes, it looks great on both sides, which makes it perfect for scarves, blankets, and projects where both sides will show.
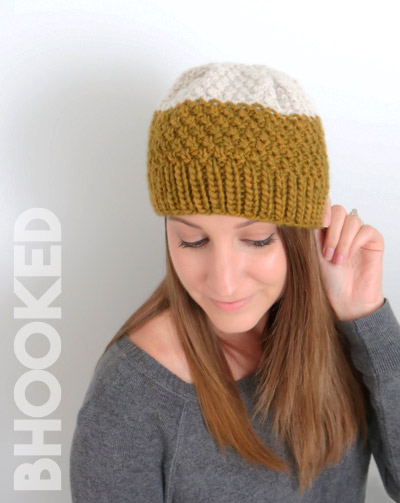
Can I use the double moss stitch for hats or sleeves?
Absolutely! The stitch works beautifully in the round, making it a cozy and textured choice for hats, sleeves, cowls, and more.
How do I fix mistakes in the double moss stitch?
Since the stitch is textured, it’s best to fix mistakes as soon as you spot them. Use a lifeline (a length of contrasting yarn threaded through your stitches) or carefully tink (un-knit) stitch by stitch to correct errors.
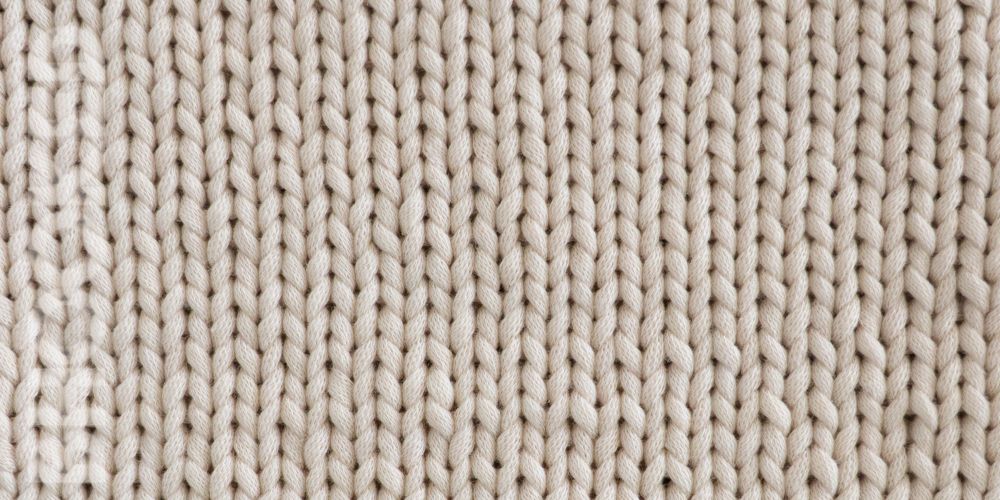
Does the double moss stitch curl like stockinette?
No, one of the advantages of the double moss stitch is that it lies flat and doesn’t curl at the edges, thanks to the balanced mix of knit and purl stitches. You can find a tutorial for the stockinette stitch here!
Stitch Project Ideas
This stitch isn’t just pretty—it’s also super versatile! Its lovely texture and firm, flat fabric make it perfect for a wide range of projects. Whether you want to knit cozy accessories or add a special touch to your home decor, this stitch brings a timeless, classic look that works beautifully in any project.