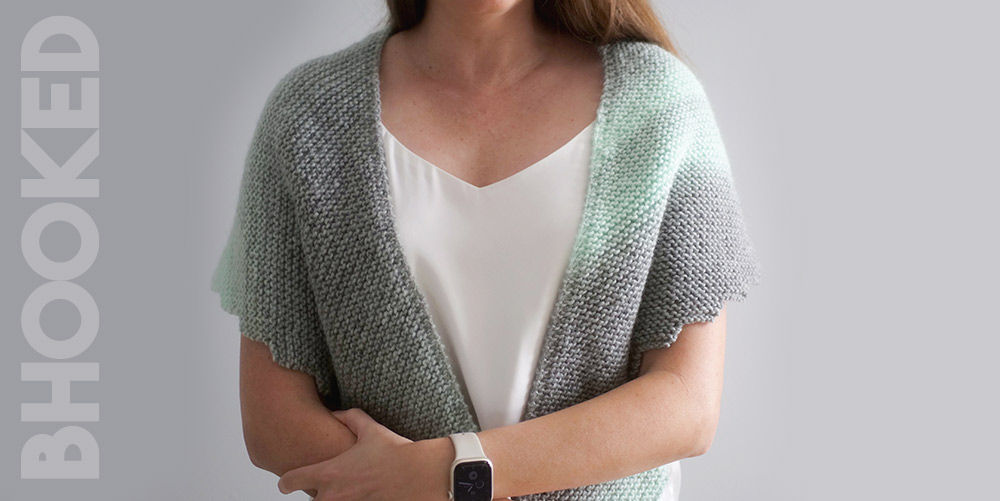
Learn how to knit a shawl with a beautiful crescent shape this weekend using our easy-to-follow pattern and tutorial. You can access the pattern for free right here or buy the ad-free, printable PDF from our shop.
UPDATED: APRIL 10, 2024 BY BRITTANY
This post may contain affiliate links. See our Disclosure Policy for more information.
SAVE TO PINTEREST
Skill Level | Easy
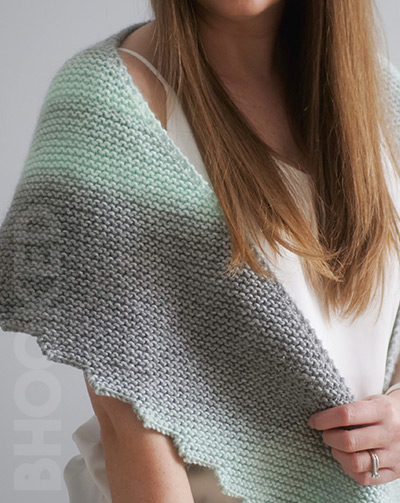
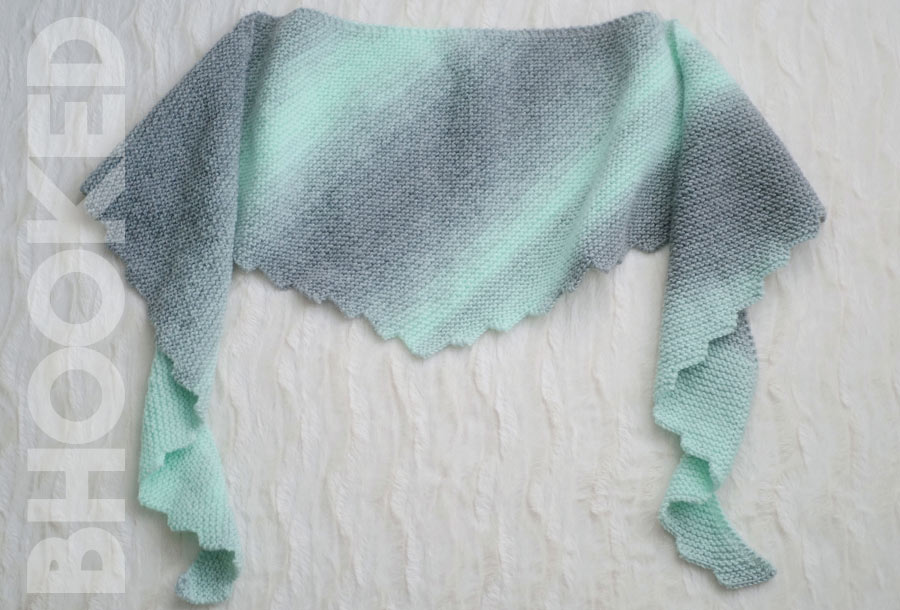
Finished Size | About 76″ wide, and 16″ long (middle)
If you’ve been wanting to try knitting a shawl but felt intimidated by the idea, this pattern is for you! You’ll only need a couple of skeins of yarn and a productive weekend to complete it.
With this pattern, you’ll learn the basic techniques for creating the crescent shape, including a few increase and decrease stitches.
You don’t have to be an expert knitter, but knowing the basics like how to maintain tension and the basic knit and purl stitches will be helpful.
Pair the instructions with the step-by-step tutorial and you’ll do just fine!
About This Crescent Shawl Knitting Pattern
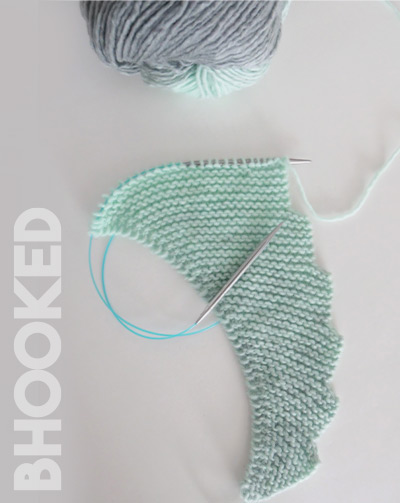
As you dive into knitting your shawl using this pattern and tutorial, it’s essential to understand that the shawl is made up of two main parts: an increasing section and a decreasing section. Each part has a simple repeat pattern, making it easy and enjoyable to knit.
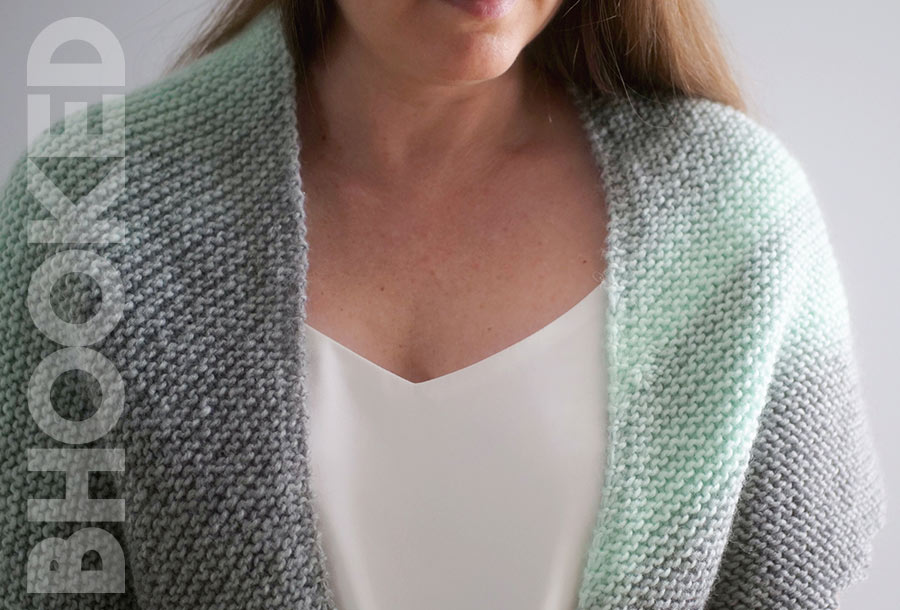
In the pictures, I used Lion Brand Scarfie yarn in the mint/silver color. While I love this yarn, if you can’t find it, don’t worry! You can use another bulky (#5) weight yarn instead. I’ll provide more information on this in the supplies section.
If you’re curious to learn more, keep reading for answers to commonly asked questions and details about the pattern. Alternatively, you can jump straight to the free pattern below.
Pattern Overview:
You can view the pattern completely free on this page. But, if you prefer having a digital copy that you can save or print, we’ve got you covered with that option as well.
If you’d like to support our work here at B.Hooked, purchasing the digital pattern is a wonderful way to do so!
Recommended Supplies
- Approx 476 yds; Lion Brand Scarfie (Colorway pictured: Mint/Silver)
- US10 Knitting Needles (24″ or longer circulars)
- Yarn Needle
- Scissors
Lion Brand Scarfie yarn is a great budget-friendly option, but you can use any bulky (#5) weight yarn you like. If you decide to substitute for a different yarn, you’ll want to check your gauge to make sure your shawl comes out the right size and that you have enough yarn to finish it. More details on that below.
Since all the stitches need to fit on the needles at the same time, you’ll need to use a pair of circular needles that are at least 24″ long to knit this shawl. Longer circulars will work too, but anything shorter and you may have a hard time knitting the middle section of the shawl.
Abbreviations
- CO Cast On
- K Knit
- KFB Knit Front Back
- Rem Remaining
- Rep Repeat
- Sl1P Slip One Purlwise with yarn in back
- St(s) Stitch(es)
Additional Notes
This shawl is made by knitting from one side to the other. You’ll begin with the increasing section, knitting towards the middle of the shawl. Then, you’ll switch to the decreasing section, knitting from the middle to the other side. During this process, you’ll use a variety of increase and decrease stitches as well as bind off some stitches to shape the bottom ridged layer. Although these two sections are similar in some ways, they’re not exact opposites.
This pattern was updated in April of 2024 to make corrections to stitch counts, and add additional information to help you knit the repeats a little easier. Please note that the tutorial may still include incorrect stitch counts so it’s best to follow the pattern for those details after the update.
Sizing: About 76″ wide, and 16″ long (measured in the middle)
I think this size is perfect for both fancy occasions and everyday wear. It’s wide enough to wrap around you comfortably and long enough to drape nicely over your back.
Gauge: 21 stitches and 33 rows = 4″ worked in garter stitch
To check if your stitches are the right size, you can either knit a small test square with the recommended yarn and needle size, or you can measure a section of your shawl after knitting a few repeats.
While gauge isn’t super crucial for this pattern, it’s still important to get it pretty close so you’ll have enough yarn to finish your shawl.
How to Knit a Shawl: Pattern Instructions
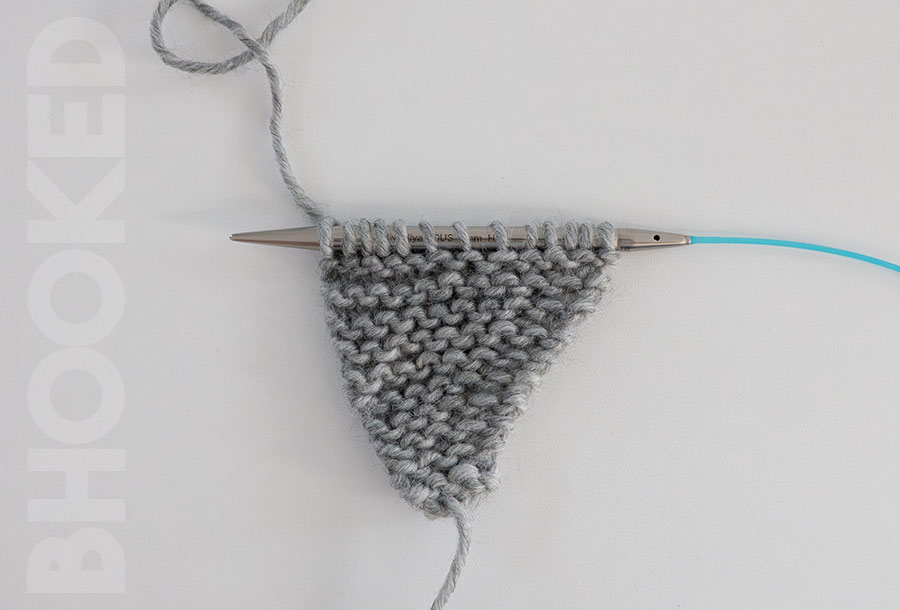
Increasing Section
CO 4
Rows 1-3: k all sts
Row 4: Sl1p. KFB. K to end of row (stitch count increased by 1).
Row 5: K all sts.
Repeat rows 4 and 5, eight more times, until you have 13 sts on the needle, ending after finishing a 4th row. (Your stitch count will increase by one every time you knit a 4th row)
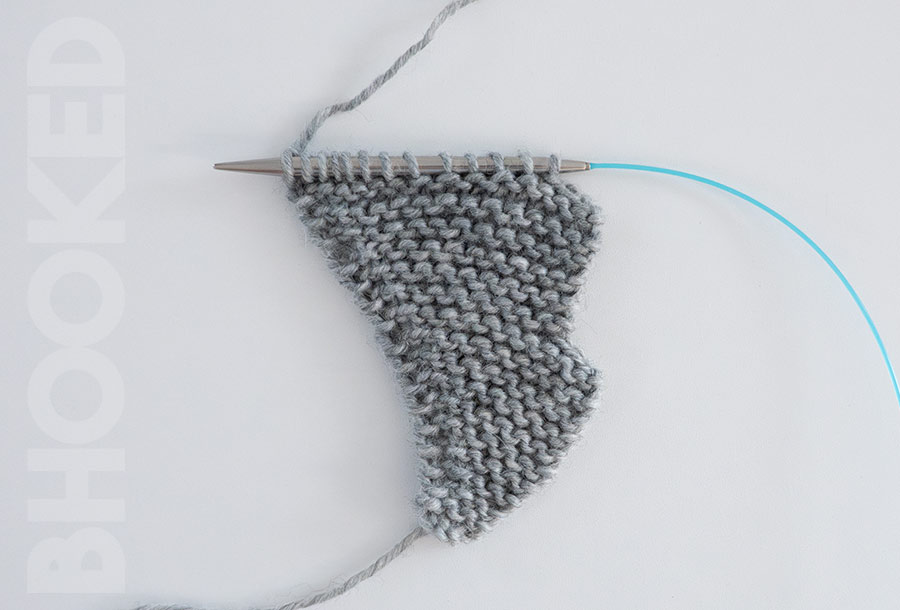
Bind Off Row: Bind off 3 sts. K to end of row (stitch count reduced by 3).
You should have 10 stitches on the needle at this point.

Increasing Section Repeat
Repeat rows 4 and 5, six times. Your stitch count should be 6 more than the last bind off row. End after finishing a 4th row. Work a bind off row to reduce your stitch count by 3.
Every time you finish an increasing section repeat, your stitch count will increase by 3 (6 stitches added, but 3 lost in the bind off).
You will need to knit the increasing section repeat 25 times total, ending after finishing a 4th row, and you have 85 stitches on the needle.
A digital pattern is available in our shop so you can print out the pattern

Decreasing Section
At this point, you should have 85 stitches on your needles after finishing a 4th row.
Bind Off Row: Bind off 6 sts. K to end of row (stitch count reduced by 6).
You should have 79 stitches on the needle at this point.
Row 2: Sl1p. KFB. K to end of row (stitch count increased by 1).
Row 3: K all sts.
Repeat rows 2 and 3, two more times, until you have 82 sts on the needle, ending after finishing a 2nd row. (Your stitch count will increase by one every time you knit a 2nd row).
Bind Off Row: Bind off 6 sts. K to end of row (stitch count reduced by 6).
You should have 76 stitches on the needle at this point.
Decreasing Section Repeat
Repeat rows 2 and 3, three times. Your stitch count should be 3 more than the last bind off row. End after finishing a 2nd row. Work a bind off row to reduce your stitch count by 6.
Every time you finish a decreasing section repeat, your stitch count will decrease by 3 (3 stitches added, but 6 lost in the bind off).
You will need to knit the decreasing section repeat 21 times total, ending after finishing a 2nd row, and you have 13 stitches on the needle.
Bind off the remaining stitches.
How to Knit a Shawl: Finishing Techniques
After you bind off the remaining stitches, weave in your ends.
Your shawl’s shape should be pretty nice as soon as you finish knitting it, but if you want to make it even better, you can wet-block it. Here’s a helpful article that explains how to do this if you’re not familiar with it.
By using this pattern, you agree to our terms of use:
This pattern is for personal use only. You agree not to modify, publish, transmit, sell, create derivative works or in any way exploit any of the content within this page, in whole or in part. If you wish to share this pattern, share a link to this webpage only. You may sell finished items made from this pattern.
Copyright, B.Hooked Crochet, LLC
How to Knit a Shawl Step-by-Step Tutorial
Video not displaying? Watch this tutorial on YouTube instead.